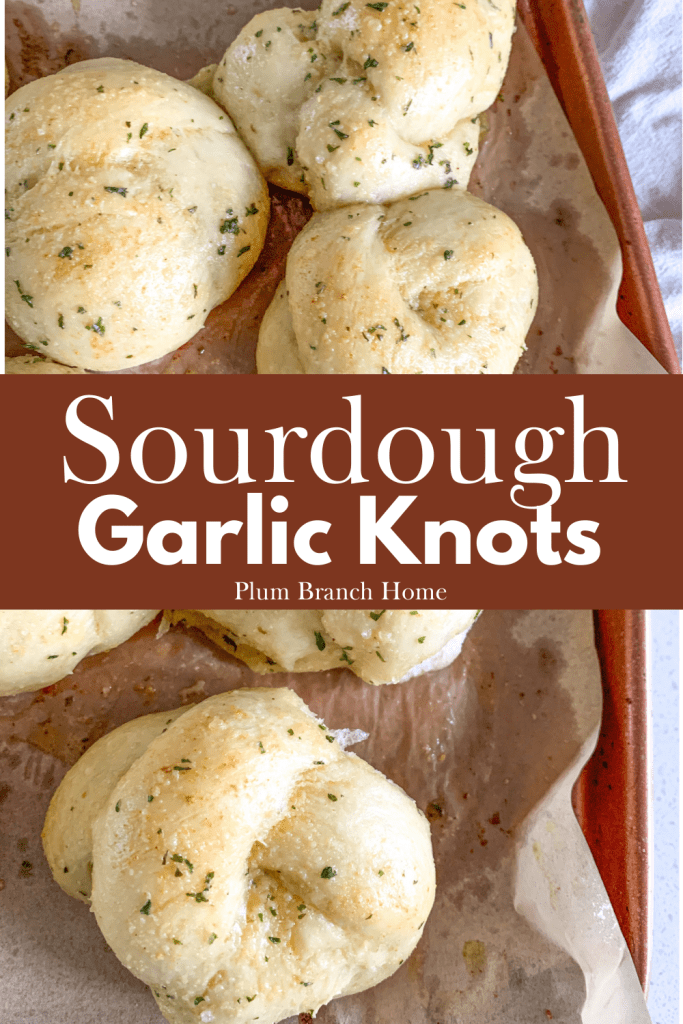
Sourdough Garlic Knots (Better Than Frozen Store Brands)
My husband absolutely loves anything that contains garlic, so of course these sourdough garlic knots are one of his favorites! They’re super soft and fluffy, perfect as a side for homemade pizza, pasta, and soups. It’s not uncommon to see these knots on our supper table once a week!

This post may contain affiliate links of items I know and love. Read our disclosure policy for more information.
If you want to make this recipe but don’t have a sourdough starter, no worries! Grab my free guide so you can make your own starter at home.
If you’re new to sourdough baking and feel hesitant, or you have questions, I’ve got something for you! I broke down the basics of what you need to know about sourdough baking in my free sourdough baking guide for beginners. I highly recommend grabbing a copy!
Why This Recipe Works
- The dough is made like a pizza crust, so it’s light and fluffy when baked!
- The bulk ferment and proofing allow the dough to puff up so the knots are airy instead of dense.
- The homemade garlic butter is brushed on before and after baking to create a delicious flavored exterior.
How to Prepare Your Starter For This Recipe
BEFORE YOU GET STARTED: Feed your starter 4-12 hours before starting this recipe.
I recommend feeding it a 2:1 ratio of unbleached flour to filtered water to get the same results as I do when you make this recipe.
Example: Feed 1 cup flour + 1/2 cup water and let the starter sit on the counter at room temperature until it’s bubbly and has grow in the jar.
Your starter needs to be active, bubbly, and a thicker consistency to begin this recipe.
The Sourdough Garlic Knots Ingredients You’ll Need
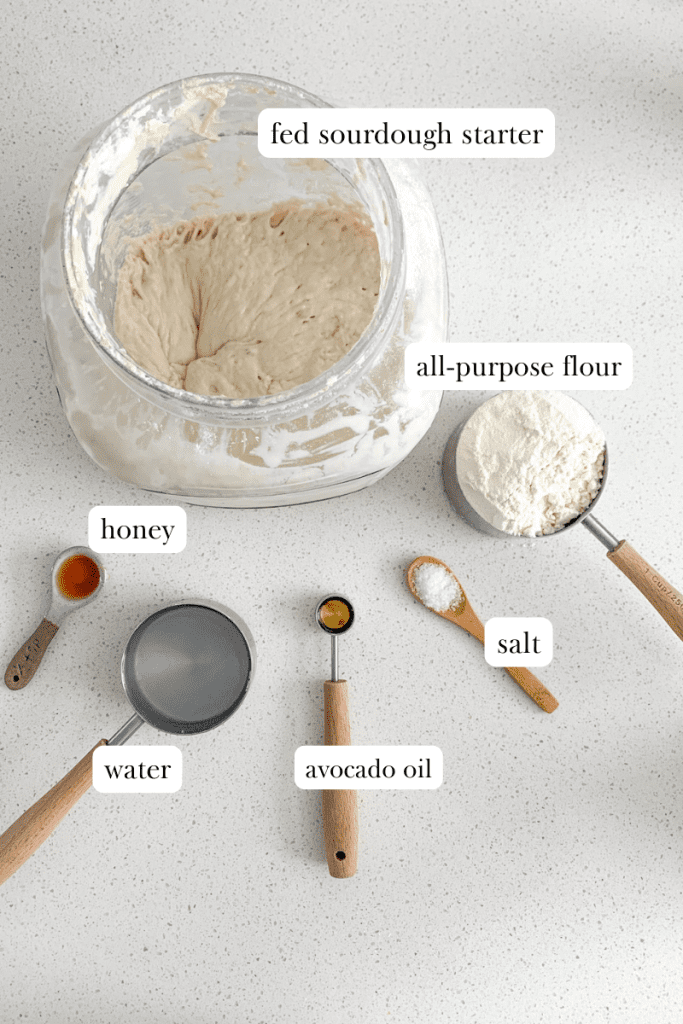
Dough Ingredients
- fed sourdough starter (feed it 4-12 hours before using)
- water
- olive oil or avocado oil
- sea salt
- raw honey
- all-purpose flour
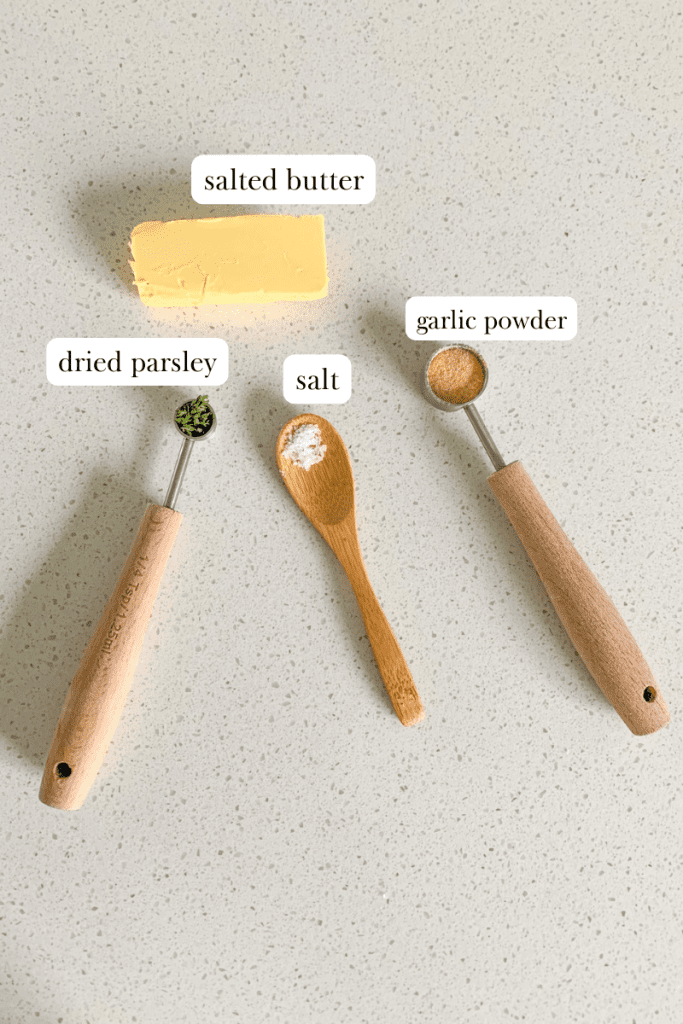
Garlic Butter Ingredients
- butter (salted)
- garlic powder
- salt
- Optional – dried parsley
Kitchen Tools You’ll Need
- mixing bowl
- unbleached parchment paper
- large baking sheet pan
- bench scraper (optional but I LOVE mine!)
- silicone kitchen brush

How to Make Sourdough Garlic Knots (step-by-step)
Add all ingredients into a large mixing bowl and stir to combine (dough will be shaggy).
Use your hands to bring dough into a ball (add 1 Tbsp extra water if needed).
Turn dough out onto a lightly floured surface and knead by hand for 3 minutes.
Place dough back into the bowl and cover with a damp kitchen towel, seran wrap, or a lid loosely for 10 hours to bulk ferment. The dough should double in size. See notes for helpful information.
When the dough has finished fermenting, line a baking sheet with parchment paper.
Turn dough out onto the counter, no flour needed.
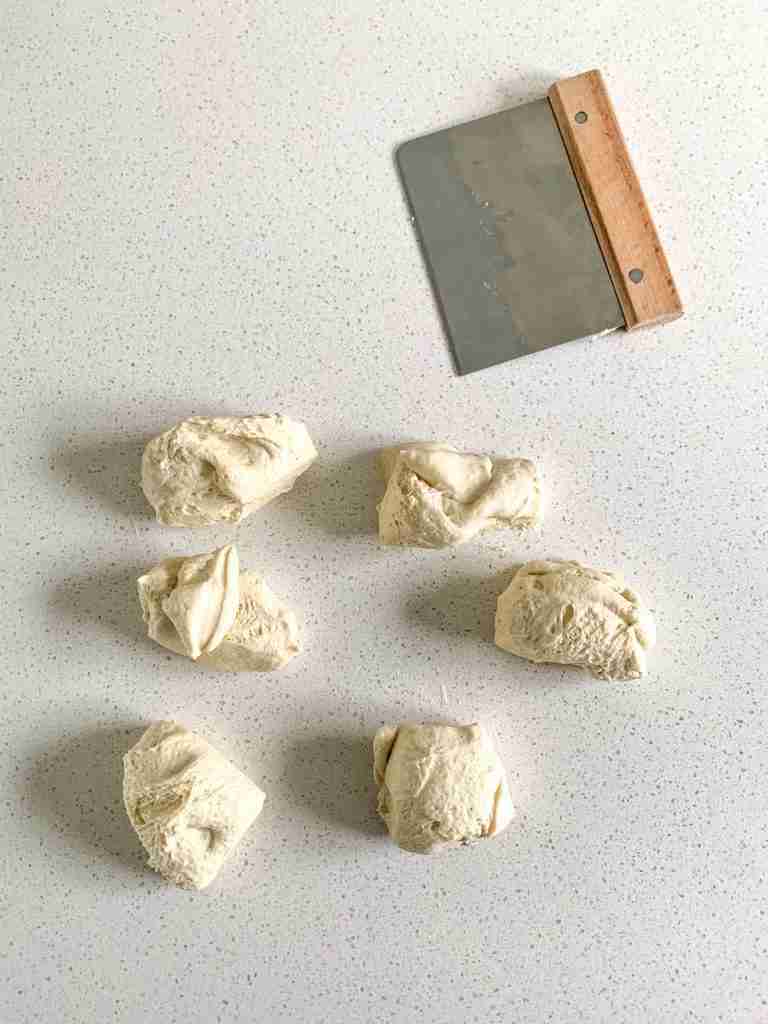
Cut dough into 6 even pieces.
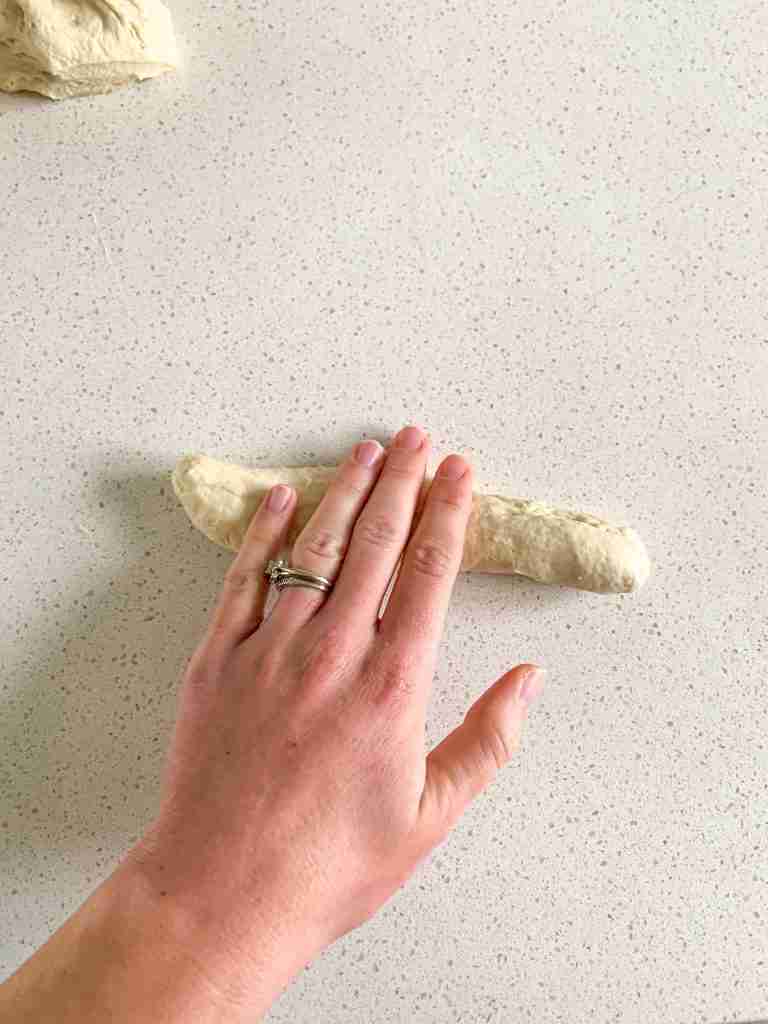
Roll each piece into a rope about 8 inches long
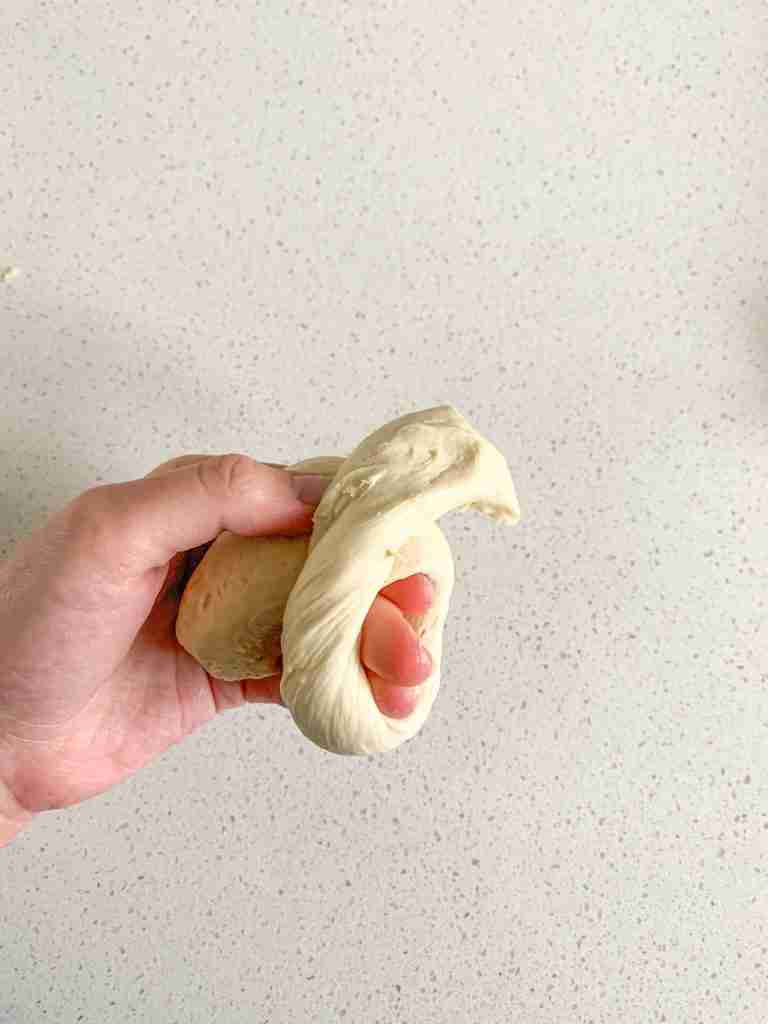
Then using your hands tie the rope into a knot in the center and tuck the ends underneath it.
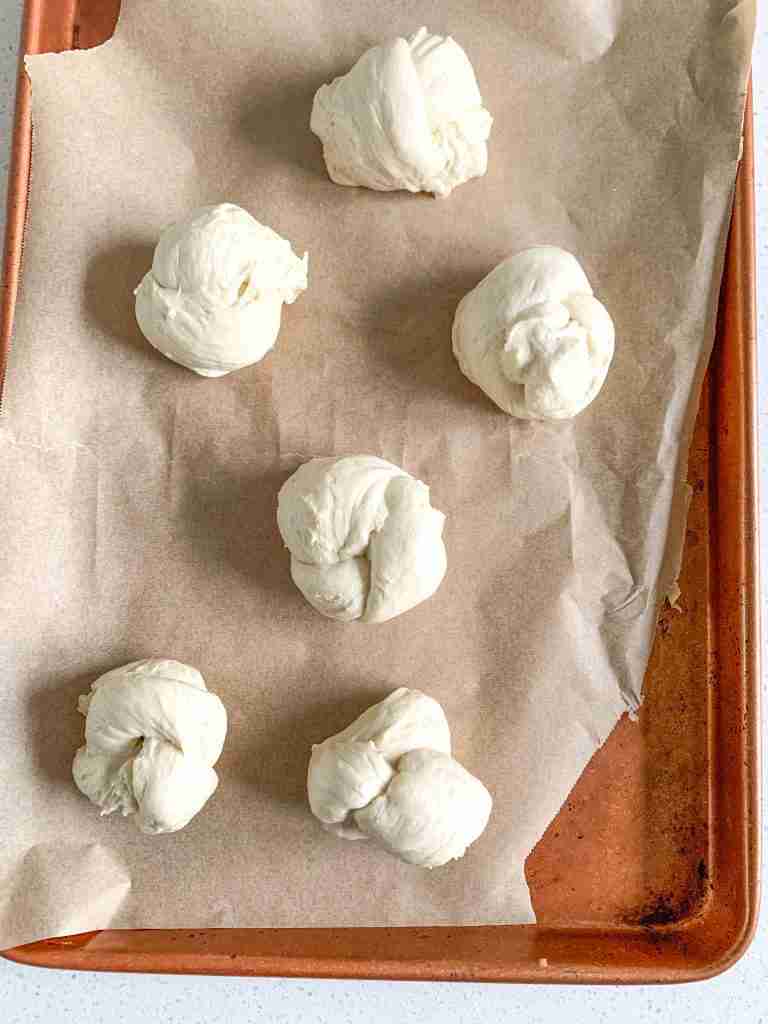
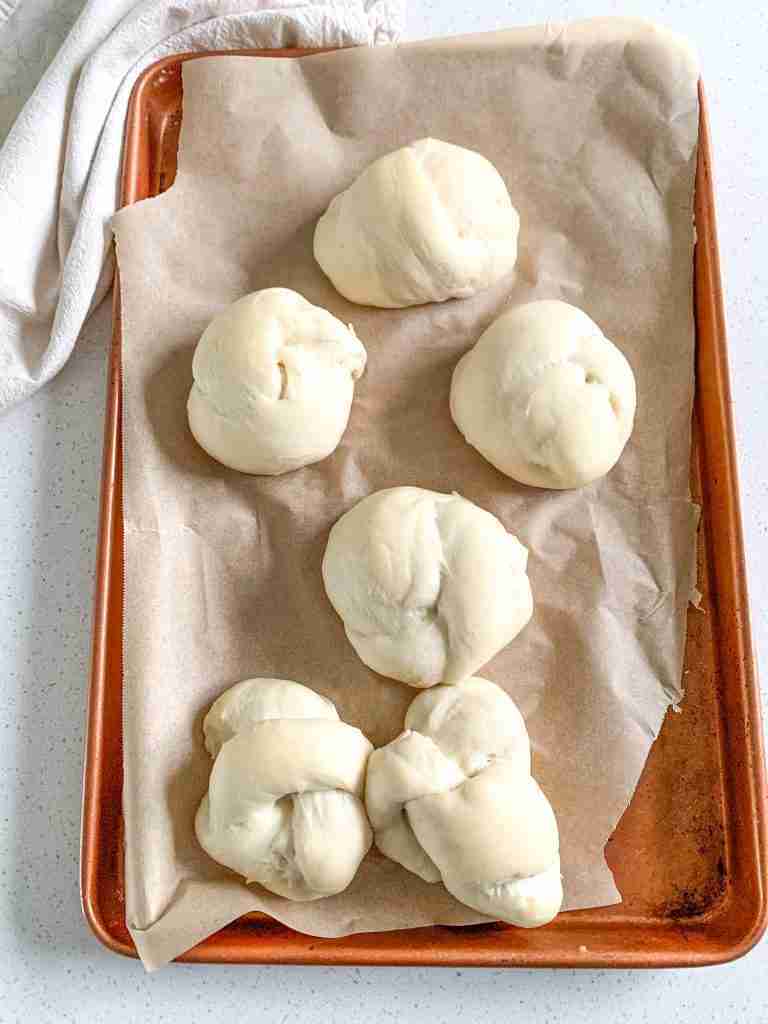
Place the knots 2 inches apart on the baking sheet and cover with a dry kitchen towel for 3-4 hours to rise. See notes for helpful information.
Once doubled in size, preheat the oven to 400 degrees Fahrenheit.
Place the butter in a small oven-safe dish and place it in the preheating oven until melted.
When the butter is melted take it out of the oven and add in salt, garlic powder, and parsley. Stir to combine.

Brush knots with half of the garlic butter mixture then bake for 15-18 minutes.

Remove from oven and brush with the other half of the garlic butter. Enjoy!
Storing Sourdough Garlic Knots
Store cooled-down garlic knots in an airtight container for 2-3 days at room temperature.
Reheating Sourdough Garlic Knots
When you’re ready to reheat these knots, place them on a sheet pan and warm them in a 400-degree oven for 3-5 minutes.

Recipe FAQs
Yes, you can freeze these garlic knots either before or after baking them.
To freeze them before baking, shape the knots, then place them on a parchment-lined sheet so they’re not touching. Freeze for 1-2 hours, then place them in a freezer-safe container or bag.
They’ll last 1 month in the freezer. When you’re ready to bake, place them back on a parchment-lined sheet pan and thaw in the fridge overnight. After thawed, let them proof on the counter for 3-4 hours until doubled in size. Then bake.
To freeze them after baking, allow them to cool completely, then wrap them individually with a little parchment paper and place in a freezer-safe container or bag. When you’re ready to enjoy them, place them frozen on a sheet pan and into a preheated oven to 400 degrees Fahrenheit for 8-10 minutes until warmed. They’ll last 3 months in the freezer.
Of course! Just follow the instructions above and store them in the freezer until you need them.
Did you make this recipe?
- Give it a 5-star rating in the comments below 👇🏼
- Share a photo of your garlic knots on your Instagram or Facebook stories. Be sure to tag @plumbranchhome and use the hashtag #plumbranchhome so I can see it!
More Savory Sourdough Sides You’ll Love
- Sourdough Cheddar Bay Biscuits
- Sourdough Jalapeno Popper Scones
- Sourdough Crescent Rolls
- Sourdough Garlic Bread
- Sourdough Texas Toast
Recipe

Sourdough Garlic Knots
Ingredients
- 1/4 cup fed sourdough starter feed it 4-12 hours before using
- 1/2 cup water
- 1 1/2 Tbsp avocado oil or melted butter
- 1/2 tsp sea salt
- 1 tsp raw honey
- 1 1/2 cups all-purpose flour
Garlic Butter
- 4 Tbsp butter salted
- 3/4 tsp garlic powder
- 1/4 tsp salt
- Optional – 1/2 tsp dried parsley
Instructions
- BEFORE YOU GET STARTED: Feed your starter 4-12 hours before starting this recipe. I recommend feeding it a 2:1 ratio of unbleached flour to filtered water to get the same results as I do when you make this recipe. Example: Feed 1 cup flour + 1/2 cup water and let the starter sit on the counter at room temperature until it's bubbly and has grow in the jar. Your starter needs to be active, bubbly, and a thicker consistency to begin this recipe.
- Add all ingredients into a large mixing bowl and stir to combine (dough will be shaggy).
- Use your hands to bring dough into a ball (add 1 Tbsp extra water if needed).
- Turn dough out onto a lightly floured surface and knead by hand for 3 minutes.
- Place dough back into the bowl and cover with a damp kitchen towel, seran wrap, or a lid loosely for 10 hours to bulk ferment. The dough should double in size. See notes for helpful information.
- When the dough has finished fermenting, line a baking sheet with parchment paper.
- Turn dough out onto the counter, no flour needed.
- Cut dough into 6 even pieces.
- Roll each piece into a rope about 8 inches long
- Then using your hands tie the rope into a knot in the center and tuck the ends underneath it.
- Place the knots 2 inches apart on the baking sheet and cover with a dry kitchen towel for 3-4 hours to rise. See notes for helpful information.
- Once doubled in size, preheat the oven to 400 degrees Fahrenheit.
- Place the butter in a small oven-safe dish and place it in the preheating oven until melted.
- When the butter is melted take it out of the oven and add in salt, garlic powder, and parsley. Stir to combine.
- Brush knots with half of the garlic butter mixture then bake for 15-18 minutes.
- Remove from oven and brush with the other half of the garlic butter. Enjoy!
Notes
- Make sure your starter is active! BEFORE YOU GET STARTED: Feed your starter 4-12 hours before starting this recipe. I recommend feeding it a 2:1 ratio of unbleached flour to filtered water to get the same results as I do when you make this recipe. Example: Feed 1 cup flour + 1/2 cup water and let the starter sit on the counter at room temperature until it’s bubbly and has grow in the jar. Your starter needs to be active, bubbly, and a thicker consistency to begin this recipe.
- Let the dough bulk ferment for 12 hours. It is important to let your dough bulk ferment for the full 12 hours. It should double in size and have air bubbles in it.
- Place the dough in a warm spot to rise. For both the bulk ferment and the second rise after shaping, your dough needs to be at room temperature in a non-drafty place.
- If your dough doesn’t look like it’s doing anything halfway through the rises, you need to place it in a slightly warmer area.
- This can be in a turned-off oven with the light on and oven door open, or you can slightly warm the oven to about 75-80 degrees Fahrenheit, then turn it off and place your dough inside with the door shut.
- Never leave the oven on, even on the keep warm setting, with fermenting dough inside. Your dough, for both rises, needs to double.
- If your dough doesn’t double even in the warmer area, there is a problem with your starter. It is too weak to ferment the dough even in a warm environment.
- To fix this, you will want to leave your starter out on the counter for 2 days and feed it every 12 hours at a 2:1 ratio of unbleached flour to filtered water.
- For example, 1 cup unbleached flour + 1/2 cup filtered (or bottled) water.
- Make sure you’re using unbleached flour and filtered or bottled water to do this. If you don’t, it will affect your starter strength. Reverse osmosis water (or any water that uses salt in the filter) can make the starter weak.
- This will strengthen the cultures in your starter to give you fluffy baked bread and treats. After the 2 days, you can go back to feeding it like usual (once a week if stored in the fridge or once a day if stored on the counter). Be sure to use the 2:1 ratio feeding from here on out.
These look good! I am going to give them a try.
Thank you so much! I hope you love them as much as we do!