Sourdough Hot Dog Buns
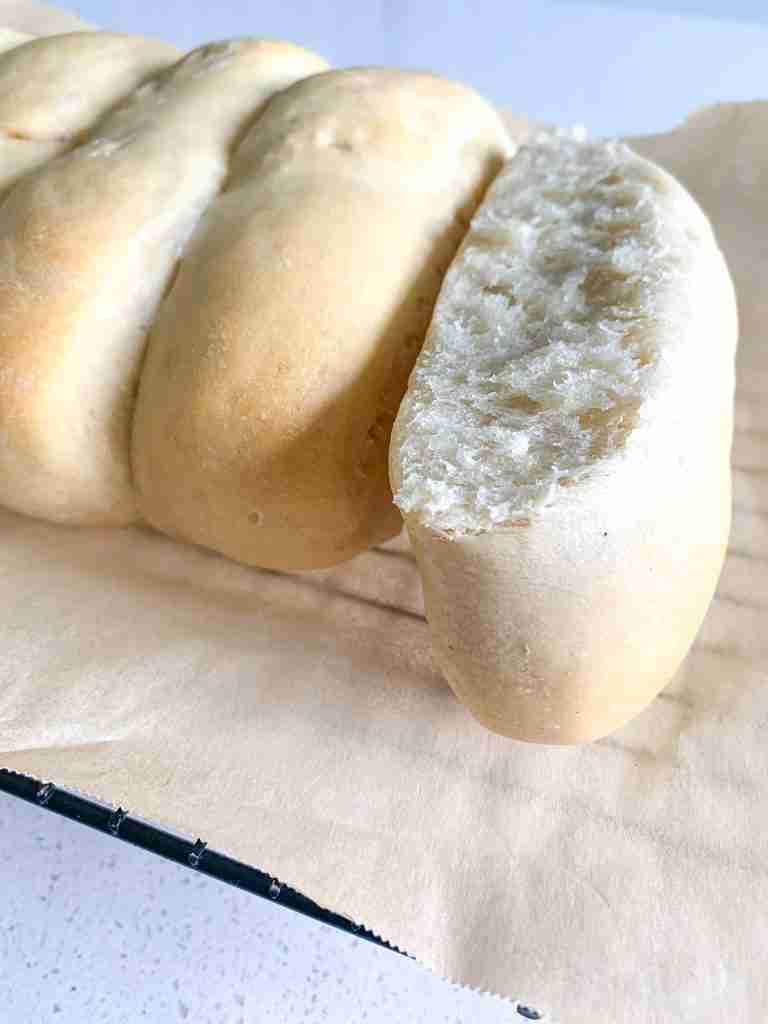
If you’re looking for an easy, small-batch sourdough hot dog buns, you’ve come to the right place! Mine are super soft and simple to whip up. You’ll come back to make them time and time again. They are so much better than store-bought! This recipe post includes a video tutorial so you can make it alongside me, step-by-step!
This post may contain affiliate links of items I know and love. Read our disclosure policy for more information. I NEVER use AI (artificial intelligence) to create content for Plum Branch Home. Recipes, blog posts, photos, videos, podcasts, social media content: everything is made from scratch by me, Molly LaFontaine. After developing my recipes, they’re tested 2x by my husband, Tyler, and I before publishing. What you see from Plum Branch Home is real. It’s made for a reason, tested, and loved!

If you want to make this recipe but don’t have a sourdough starter, no worries! Grab my free guide so you can make your own starter at home.
If you’re new to sourdough baking and feel hesitant, or you have questions, I’ve got something for you! I broke down the basics of what you need to know about sourdough baking in my free sourdough baking guide for beginners. I highly recommend grabbing a copy!

There’s something about the summer here in Tennessee that makes you crave a hot dog. I don’t know why, but it does! Until this year, I swore off hot dogs. I couldn’t get past the harmful ingredients, even though I enjoy a good frank.
So I developed my own hot dog bun recipe and found a wholesome, uncured hot dog option to go with them. Now we get to enjoy hot dogs in our home without all the junk.
I hope this recipe does the same for you! I can’t wait for you to whip up a batch.

Molly’s Tips for Making Sourdough Hot Dog Buns
- Make sure you feed your sourdough starter 4–12 hours before using it in this recipe.
- Your starter should be active and bubbly.
- When shaping, simply roll the dough pieces into logs with your hands.
- For a soft bun, bake the buns in a row so they’re slightly touching.
- Let the buns proof until puffy to ensure a fluffy texture.
Why Make Hot Dog Buns with Sourdough
When you make hot dog with sourdough, you get gut benefits from the starter’s cultures. If you long ferment the dough in the fridge for 12-24 hours before baking, those cultures ferment the other ingredients. This long fermentation is optional but adds even more gut benefits!
How to Prepare Your Sourdough Starter
BEFORE YOU GET STARTED: Feed your entire sourdough starter jar 4-12 hours before starting this recipe. I recommend feeding your entire starter a 2:1 ratio of unbleached flour to filtered water to get the same results as I do when making this recipe.
(Example: Feed entire starter 1 cup flour + 1/2 cup water and let it sit on the counter at room temperature until it’s bubbly and has grown in the jar. Your starter needs to be active, bubbly, and a thicker consistency to use in this recipe.)
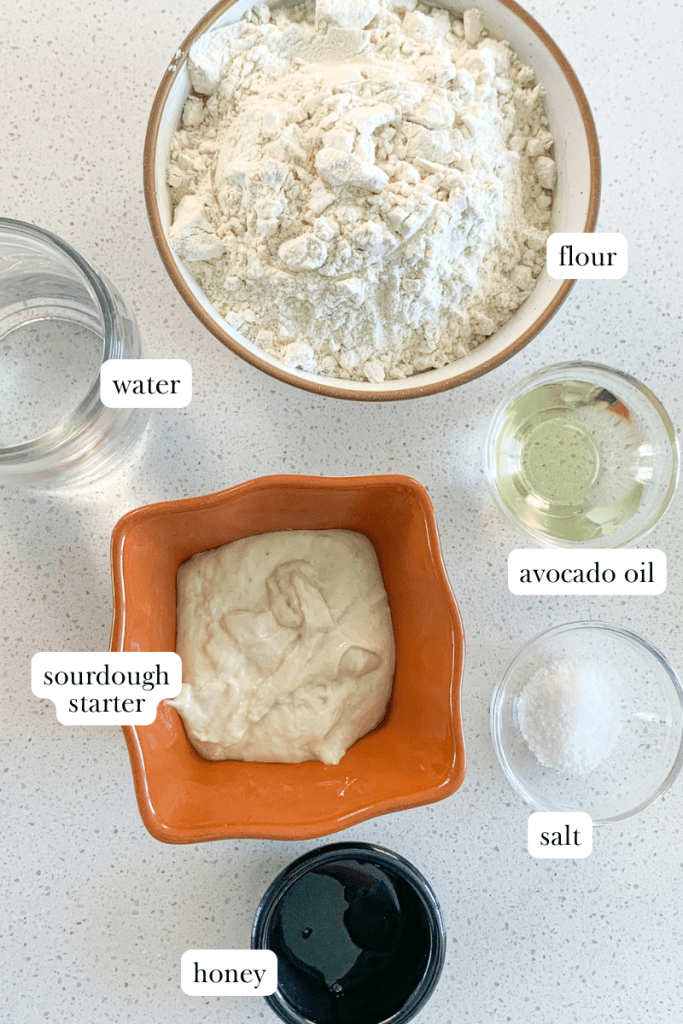
Ingredients You Will Need
- fed sourdough starter: make sure it’s active an bubbly
- all-purpose flour: the base of these buns
- water: gives the dough moisture
- sea salt: adds flavor to the dough
- avocado oil (or 4 Tbsp melted butter): creates a soft, fluffy texture
- raw honey: a natural way to sweeten the dough
Helpful Kitchen Tools to Make This Recipe
- mixing bowl
- unbleached parchment paper
- large sheet pan
- bench scraper (my favorite!)

How to Make Sourdough Hot Dog Buns
Make the Dough
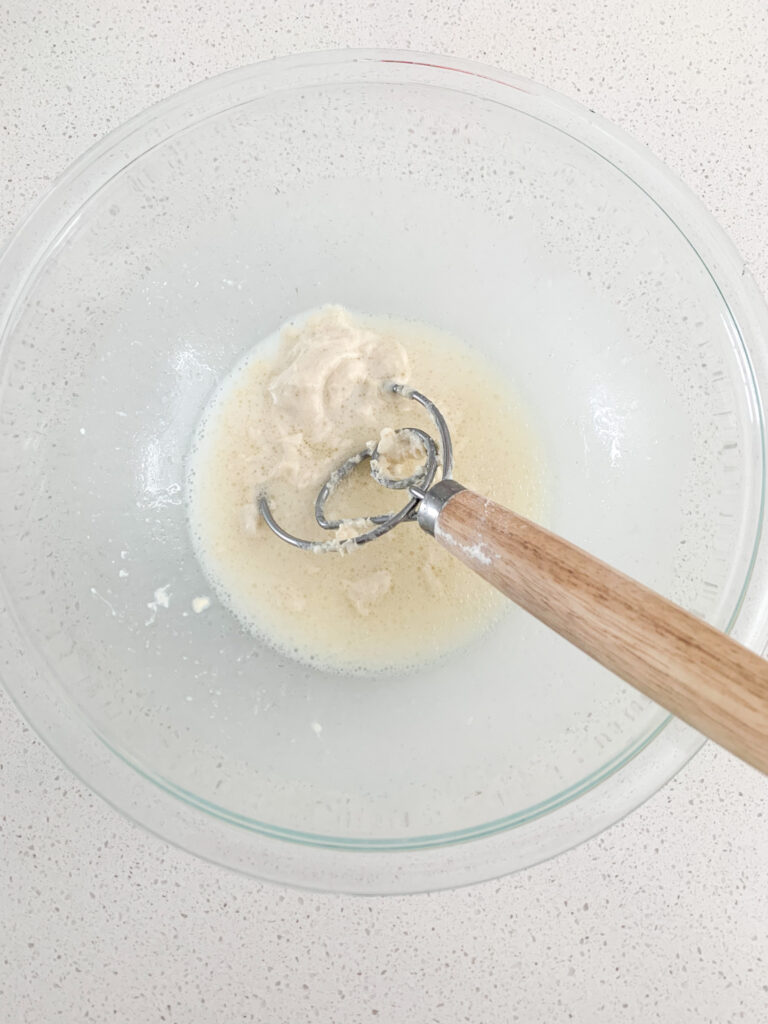
In a mixing bowl, combine the starter, water, honey, avocado oil, and salt until combined.
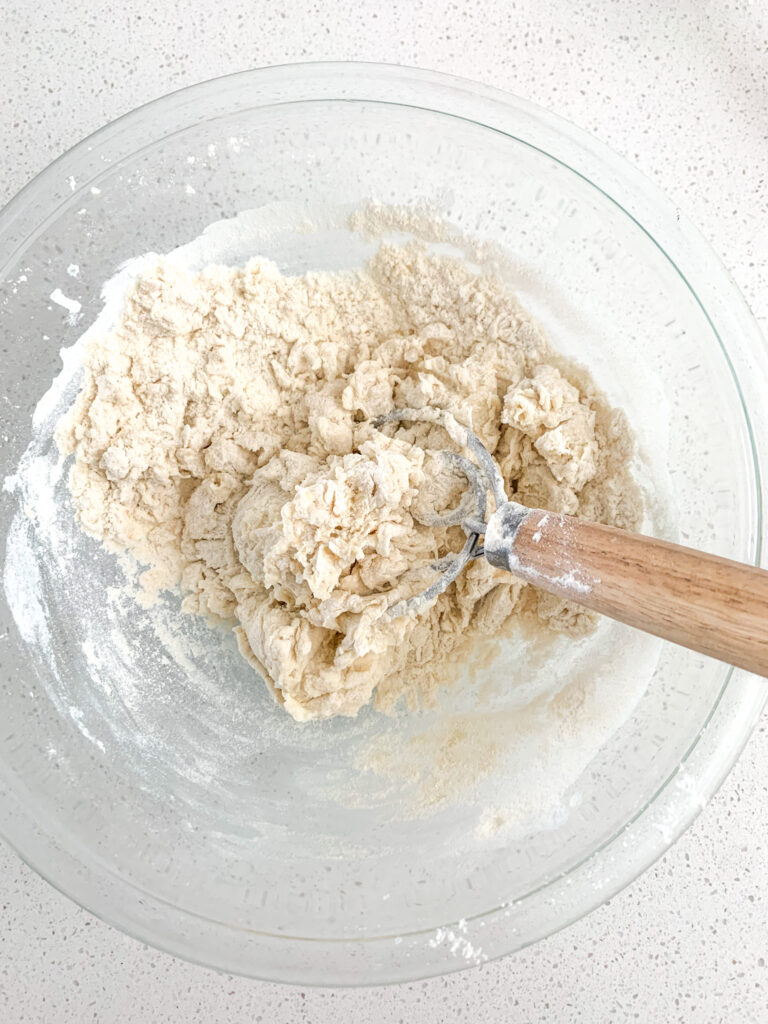
Add in the flour and mix until combined. It may be shaggy, so use your hands to finish combining it into a dough ball until all the flour is incorporated. (If your dough isn’t coming together, add in 1-3 tablespoons of water to help).
Turn the dough out on the counter and knead for 3 minutes by hand or with a bread hook on an electric mixer on low.
Place the dough back into the bowl and cover loosely with a wet towel or lid slightly on (not airtight).
Bulk Ferment

Let the dough bulk ferment on the counter for 10-12 hours. It should double in size and be full of air bubbles. See notes below!
Optional: When the bulk ferment is over you can continue this recipe OR cover the dough with an airtight lid or saran wrap. Then place it in the fridge up to 48 hours until you’re ready to use it.
Shape Buns
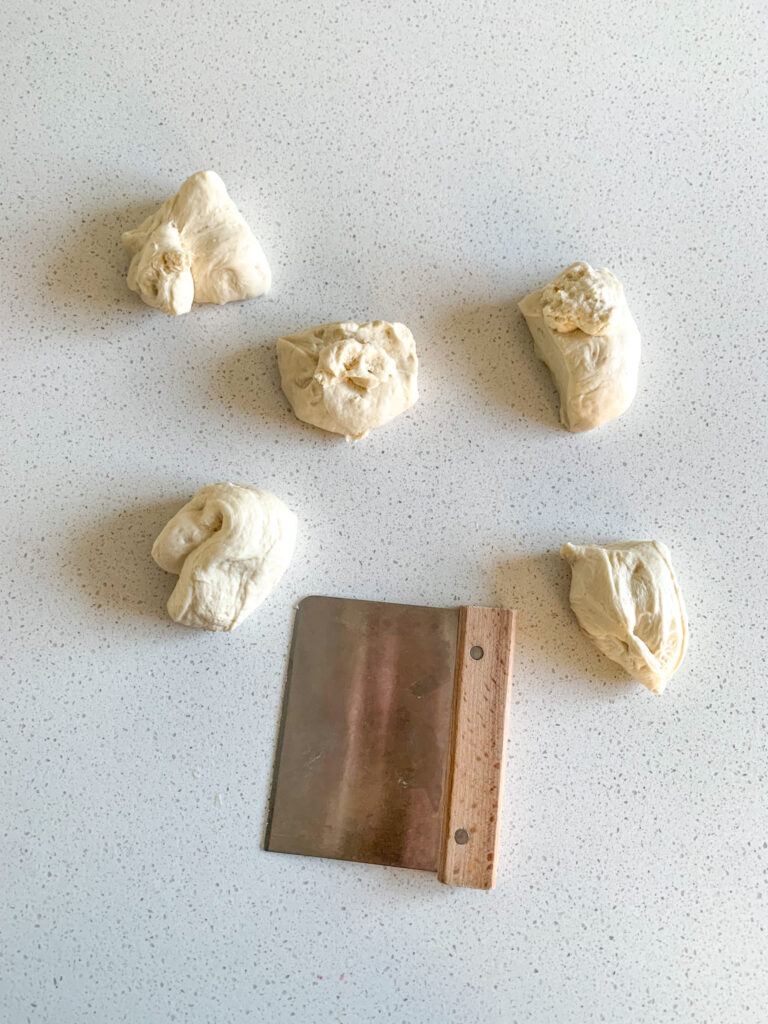
To continue the recipe, turn the dough out on the counter (no flour needed), and slice it into 6 even pieces.
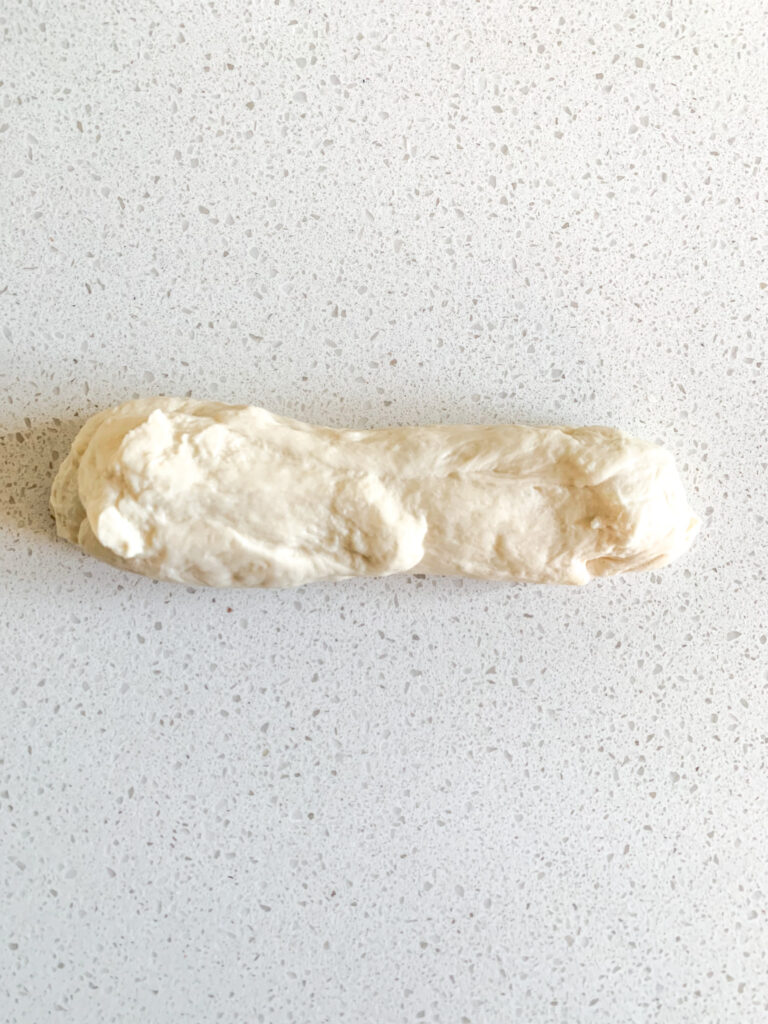
Shape each piece by rolling them each into a log about 4-5 inches long.
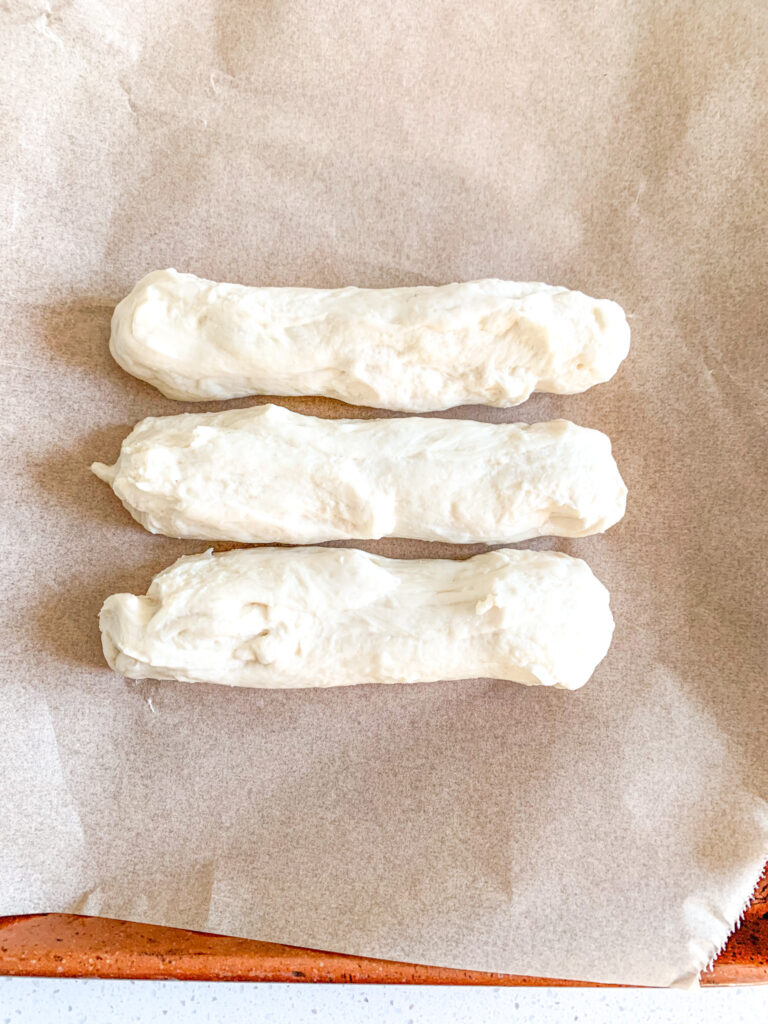
Place each bun on a parchment-lined sheet pan in a row so they’re just barely touching.
Proof & Bake
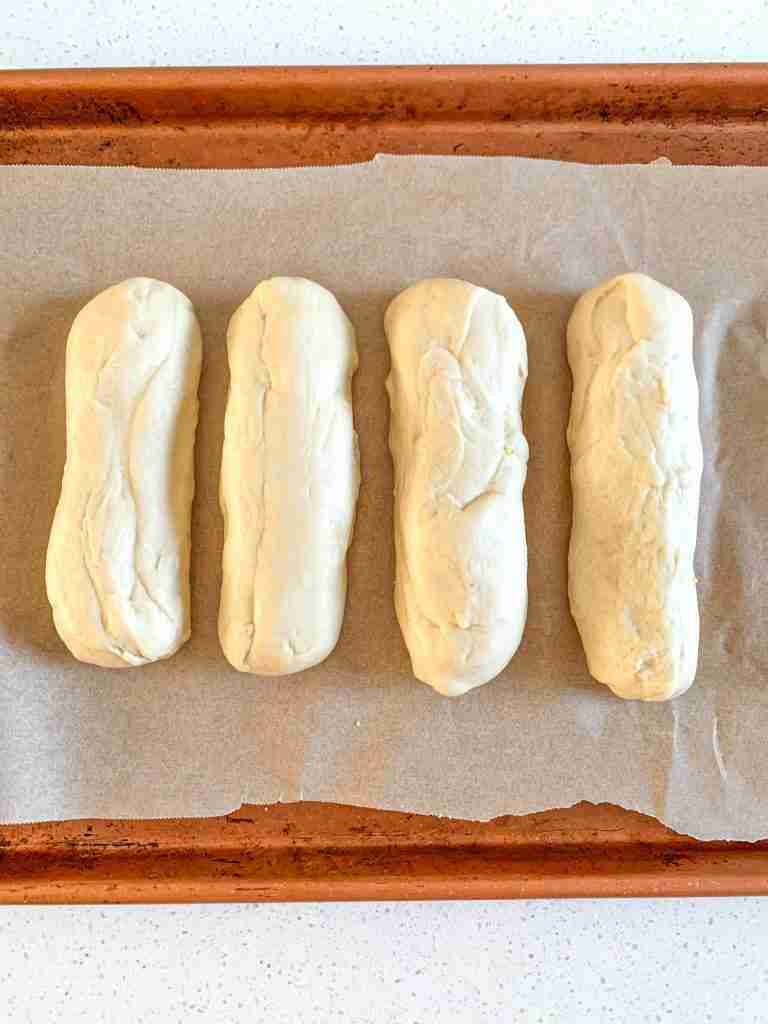
Cover the sheet pan with a towel and let the buns rise at room temp for 2-3 hours. They should be puffy and larger after the proofing. See notes below!
Preheat the oven to 375 degrees and bake for 20-22 minutes.
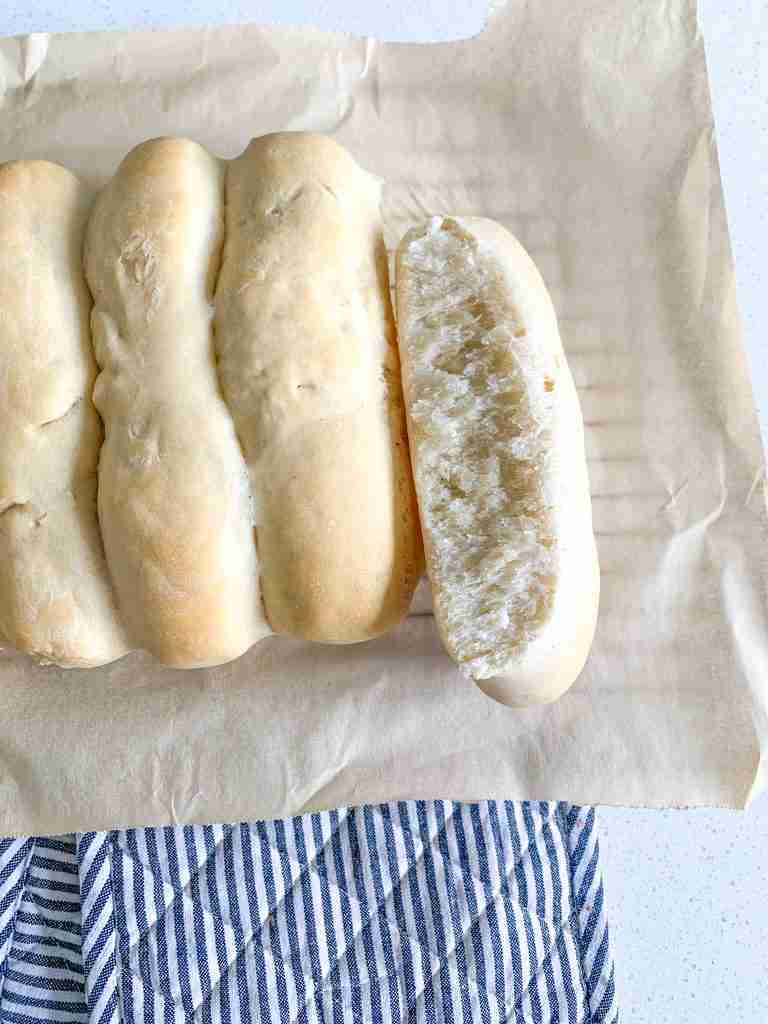
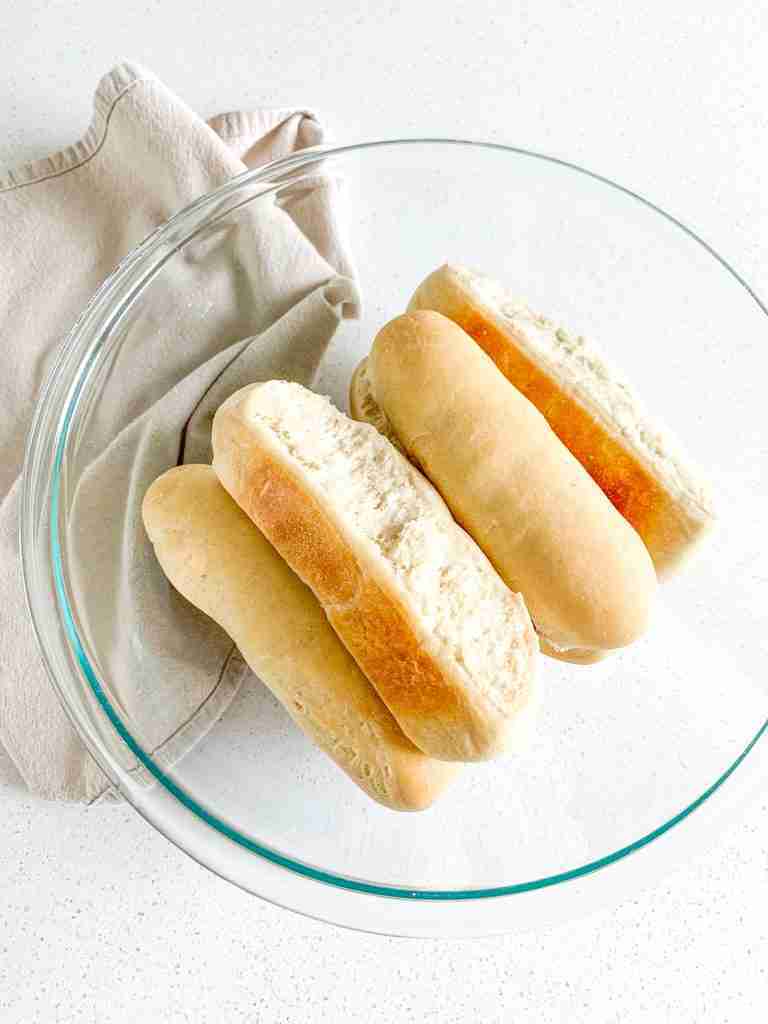
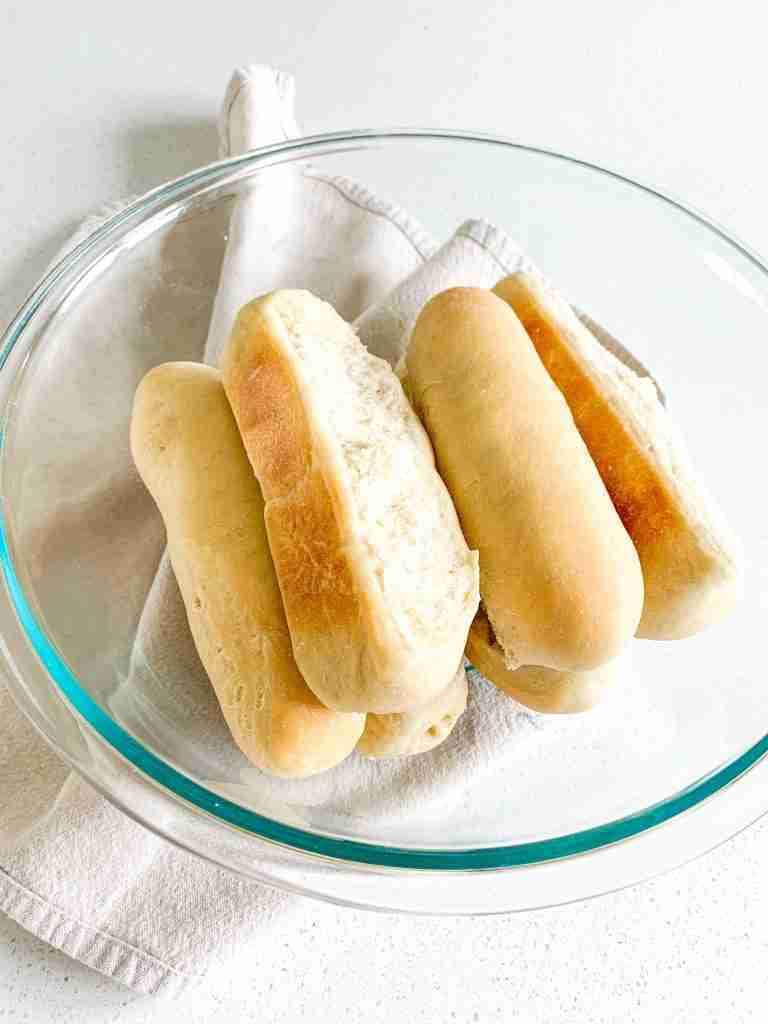
Cool on a wire rack and enjoy!
Video Tutorial
The Quick Option
If you’re in a rush or forget to whip up a batch, use warm water and skip the bulk fermentation process. After you whip up the dough, shape it, and let the buns rise for 2 hours before baking.
If you have the time, I recommend doing the full fermentation process, but if not, this works well! Just know your buns may not be as soft and fluffy if you do the quick method.
How to Store Sourdough Hot Dog Buns
After they’ve completely cooled, store them in an airtight container for 4-5 days at room temperature. You can also freeze them for 3-6 months. Just place frozen buns in the fridge or on the counter overnight to thaw.
Ways to Serve Hot Dog Buns
Of course, you can serve your hot dog buns with hot dogs, but you can also use them to make sandwiches! Fill the buns with any meat or cheese you desire.
Healthier Hot Dog Option
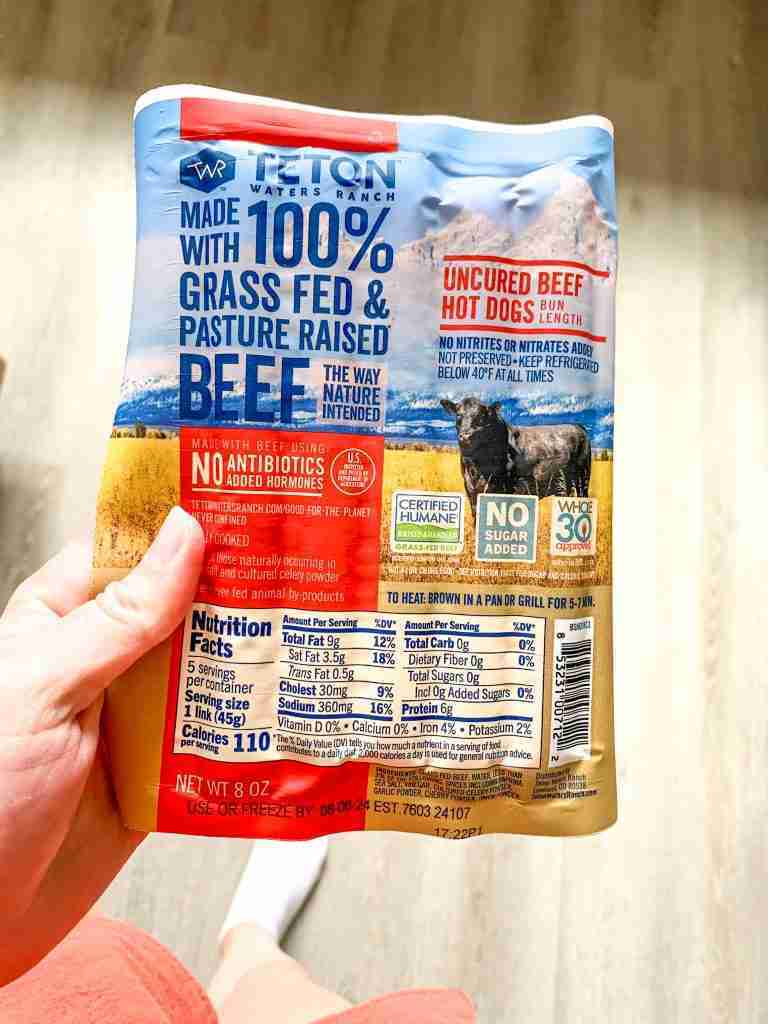
I used to swear off hot dogs. The ingredients are just horrible. But that was before I found Teton Waters Ranch grass-fed beef hot dogs. They are so dang good, have zero antibiotics or added hormones, and they’re uncured!
I found them at Sprout’s grocery store. You can go on their website to find a store near you that sells them. This is not sponsored, I just really love this brand!
FAQs
Yes you can! When the bulk ferment is over you can cover the dough with an airtight lid or saran wrap. Then place it in the fridge up to 48 hours until you’re ready to use it.
You can also bake these buns then freeze them for 3-6 months.
You can, but know the buns may turn out less soft and fluffy.
This can happen for a few reasons. The first could be your dough needed to ferment in a warmer area. The second could be your starter needs strengthened. See the notes on the bottom of the recipe card below for help.
Slice them so they’ll open up like a butterfly (3/4 of the way), then place the soft inside part down on a skillet with a little butter. Heat on medium until toasted. You can also do this in a toaster oven or regular oven.
I always say homemade sourdough hot dog buns! You eliminate any additives and you get gut benefits from the fermented dough.
More Sourdough Bread Recipes to Try
- Sourdough Hamburger Buns
- Sourdough Slider Buns
- Sourdough Sandwich Rolls (AKA Hoagie Rolls & Sub Rolls)
- Easy Sourdough Ciabatta Bread
If you made this recipe, give it a 5-star rating below and share a photo of your hot dog buns on your social media stories! Be sure to tag @plumbranchhome
Recipe

Sourdough Hot Dog Buns
Ingredients
- 1/2 cup fed sourdough starter
- 3 cups all-purpose flour
- 3/4 cup water
- 1 tsp salt
- 3 Tbsp avocado oil (or melted butter)
- 2 tsp raw honey
Instructions
- BEFORE YOU GET STARTED: Feed your entire sourdough starter jar 4-12 hours before starting this recipe. I recommend feeding your entire starter a 2:1 ratio of unbleached flour to filtered water to get the same results as I do when making this recipe. (Example: Feed entire starter 1 cup flour + 1/2 cup water and let it sit on the counter at room temperature until it's bubbly and has grown in the jar. Your starter needs to be active, bubbly, and a thicker consistency to use in this recipe.)
Make the Dough
- In a mixing bowl, combine the starter, water, honey, avocado oil, and salt until combined.
- Add in the flour and mix until combined. It may be shaggy, so use your hands to finish combining it into a dough ball until all the flour is incorporated. (If your dough isn’t coming together, add in 1-3 tablespoons of water to help).
- Turn the dough out on the counter and knead for 3 minutes by hand or with a bread hook on an electric mixer on low.
- Place the dough back into the bowl and cover loosely with a wet towel or lid slightly on (not airtight).
Bulk Ferment
- Let the dough bulk ferment on the counter for 10-12 hours. It should double in size and be full of air bubbles. See notes below!
- Optional: When the bulk ferment is over you can continue this recipe OR cover the dough with an airtight lid or saran wrap. Then place it in the fridge up to 48 hours until you're ready to use it.
Shape Buns
- To continue the recipe, turn the dough out on the counter (no flour needed), and slice it into 6 even pieces.
- Shape each piece by rolling them each into a log about 4-5 inches long.
- Place each bun on a parchment-lined sheet pan in a row so they’re just barely touching.
Proof & Bake
- Cover the sheet pan with a towel and let the buns rise at room temp for 2-3 hours. They should be puffy and larger after the proofing. See notes below!
- Preheat the oven to 375 degrees and bake for 20-22 minutes.
- Cool on a wire rack and enjoy!
Video
Notes
- If your dough doesn’t look like it’s doing anything halfway through the rises, you need to place it in a slightly warmer area.
- This can be in a turned-off oven with the light on and oven door open, or you can slightly warm the oven to about 75-80 degrees Fahrenheit, then turn it off and place your dough inside with the door shut.
- Never leave the oven on, even on the keep warm setting, with fermenting dough inside. Your dough, for both rises, needs to double.
- If your dough doesn’t double even in the warmer area, there is a problem with your starter. It is too weak to ferment the dough even in a warm environment.
- To fix this, you will want to leave your starter out on the counter for 2 days and feed it every 12 hours at a 2:1 ratio of unbleached flour to filtered water.
- For example, 1 cup unbleached flour + 1/2 cup filtered (or bottled) water.
- Make sure you’re using unbleached flour and filtered or bottled water to do this. If you don’t, it will affect your starter strength. Reverse osmosis water (or any water that uses salt in the filter) can make the starter weak.
- This will strengthen the cultures in your starter to give you fluffy baked bread and treats. After the 2 days, you can go back to feeding it like usual (once a week if stored in the fridge or once a day if stored on the counter). Be sure to use the 2:1 ratio feeding from here on out.