Sourdough Pizza Crust (Better than Pre-Made)
Crisp, soft, airy, that’s exactly how I would describe this sourdough pizza crust! You can roll it thin for thin crust or keep it a little thick for hand tossed. It’s simple to whip up and easy to make ahead. I hope this recipe finds a special place in your kitchen as it has in ours for weekly pizza night! This recipe post includes a video tutorial so you can make it alongside me, step-by-step!
This post may contain affiliate links of items I know and love. Read our disclosure policy for more information. I NEVER use AI (artificial intelligence) to create content for Plum Branch Home. Recipes, blog posts, photos, videos, podcasts, social media content: everything is made from scratch by me, Molly LaFontaine. After developing my recipes, they’re tested 2x by my husband, Tyler, and I before publishing. What you see from Plum Branch Home is real. It’s made for a reason, tested, and loved!

If you want to make this recipe but don’t have a sourdough starter, no worries! Grab my free guide so you can make your own starter at home.
If you’re new to sourdough baking and feel hesitant, or you have questions, I’ve got something for you! I broke down the basics of what you need to know about sourdough baking in my free sourdough baking guide for beginners. I highly recommend grabbing a copy!

Inspiration Behind My Sourdough Pizza Crust Recipe
I’ve been whipping up homemade pizza dough for years. Back in college, right after my husband and I got married, we didn’t have 2 nickels to rub together, so I tried to make everything at home. Long story short, I got really good at making pizza dough haha!
So when I started my sourdough journey, I substituted sourdough starter for commercial yeast. That led me here to develop this simple recipe. It’s super easy and fun to make!

Why You’ll Love This Sourdough Pizza Dough
- Easy to Make: The steps of this recipe are simple and easy. It’s perfect for beginner sourdough bakers.
- Amazing Flavor: Each bite is savory and oh-so delicoius!
- Simple to Make Ahead: This recipe is so easy to make ahead if you have a busy weeknight.
- Wholesome Ingredients: Each ingredient is wholesome so you don’t have to worry about unwanted additives.
- Molly’s Pizza Crust Making Tips
- Use an Active Starter: If you don’t have a sourdough starter but would like to make this recipe, get the instructions to make your own. It’s super simple and so worth it!
- Feed Your Starter Before: Make sure your starter has been fed at room temperature 4-12 hours before using in this recipe. If it’s cold or hasn’t been fed lately your dough will take longer to rise.
- Make It Ahead: To make this a few days ahead, simply make the dough, let it bulk ferment, then stick it in the fridge up to 3 days.
- Stove Top Option: Heat a large skillet over medium and add a little avocado or olive oil to grease it. Place your dough inside and let cook for 5-6 minutes per side until golden brown. Then turn to low, add sauce and toppings, and place a lid on top to help melt the cheese.
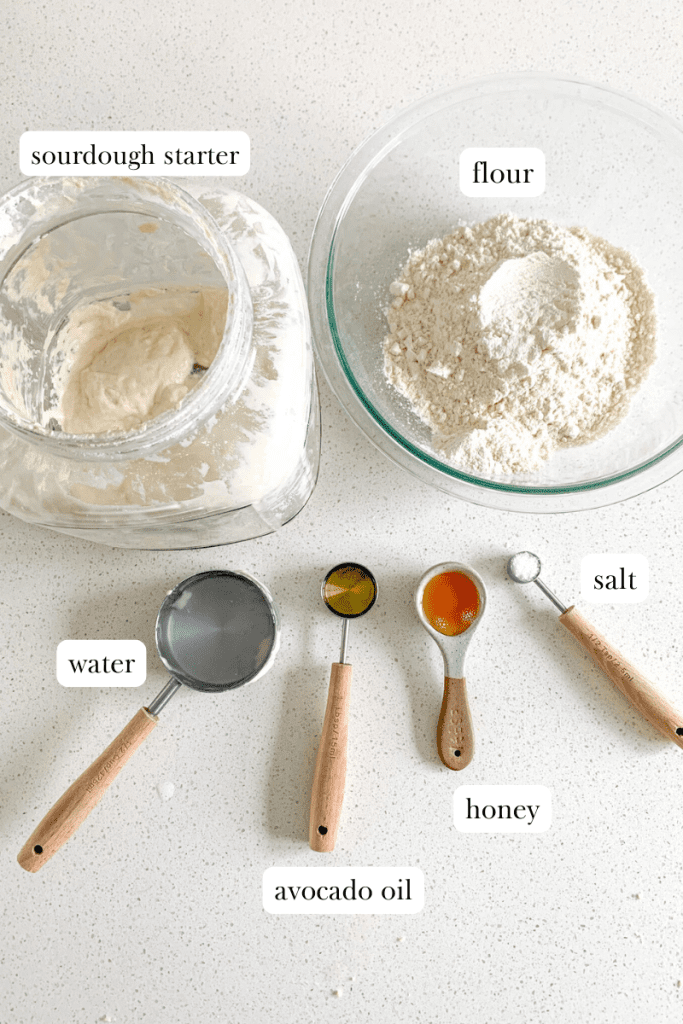
Ingredients You’ll Need
- fed sourdough starter: rises the dough
- water: adds moisture to the dough
- olive oil or avocado oil: make the crust crisp on the outside and soft on the inside
- sea salt: adds flavor to the crust
- raw honey: natural way to add a little sweetness
- all-purpose flour: a great base for pizza crust
Helpful Kitchen Tools for This Recipe
This section contains Amazon affiliate links to items I use and love for this recipe.
How to Make Sourdough Pizza Crust
BEFORE YOU GET STARTED: Feed your entire sourdough starter jar 4-12 hours before starting this recipe. I recommend feeding your entire starter a 2:1 ratio of unbleached flour to filtered water to get the same results as I do when making this recipe.
(Example: Feed entire starter 1 cup flour + 1/2 cup water and let it sit on the counter at room temperature until it’s bubbly and has grown in the jar. Your starter needs to be active, bubbly, and a thicker consistency to use in this recipe.)

Add all ingredients into a large mixing bowl and stir to combine (dough may be shaggy).

Use your hands to bring dough into a ball (add 1 Tbsp extra water if needed).

Turn dough out onto a lightly floured surface and knead by hand for 3 minutes.
Place dough back into the bowl and cover for 10-12 hours to bulk ferment in a warm space. Please see notes below!
OPTIONAL: When the bulk ferment is over you can continue this recipe OR cover the dough with an airtight lid or saran wrap. Then place it in the fridge up to 3 days until you’re ready to use it.
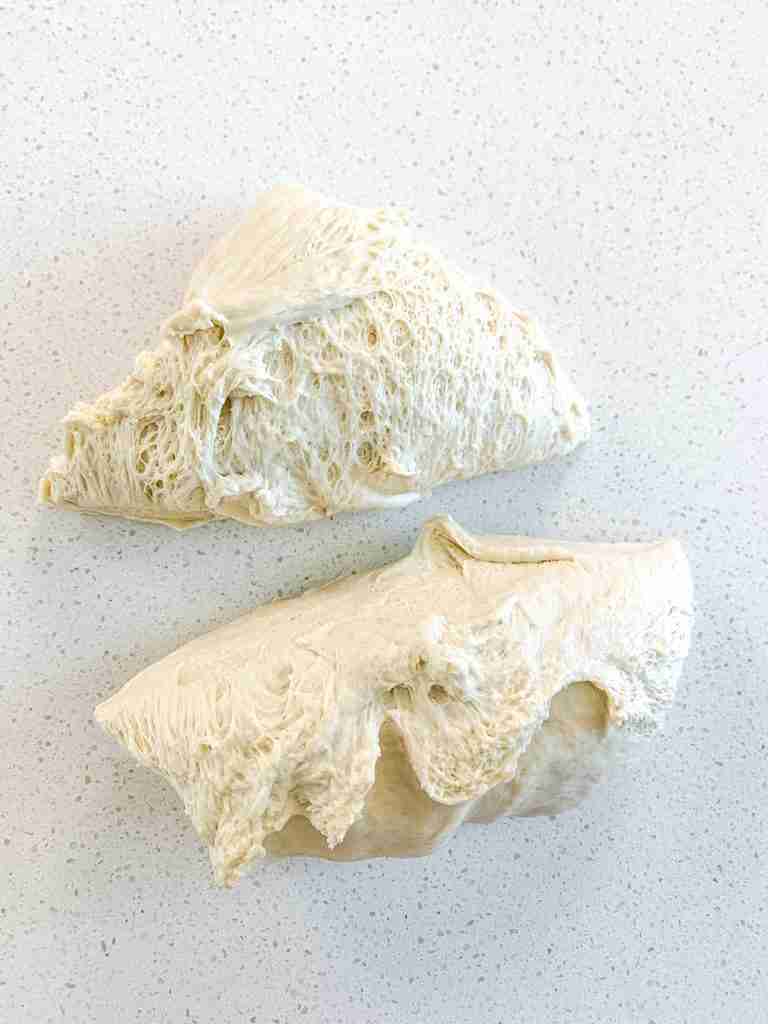
When you’re ready to continue, divide the dough into 2 even pieces (you can make 2 pizzas or 1 pizza and a side with this, or freeze one section of the dough and use the other).
Preheat oven to 450 degrees Fahrenheit (if you’re using a pizza stone place it in the oven now)
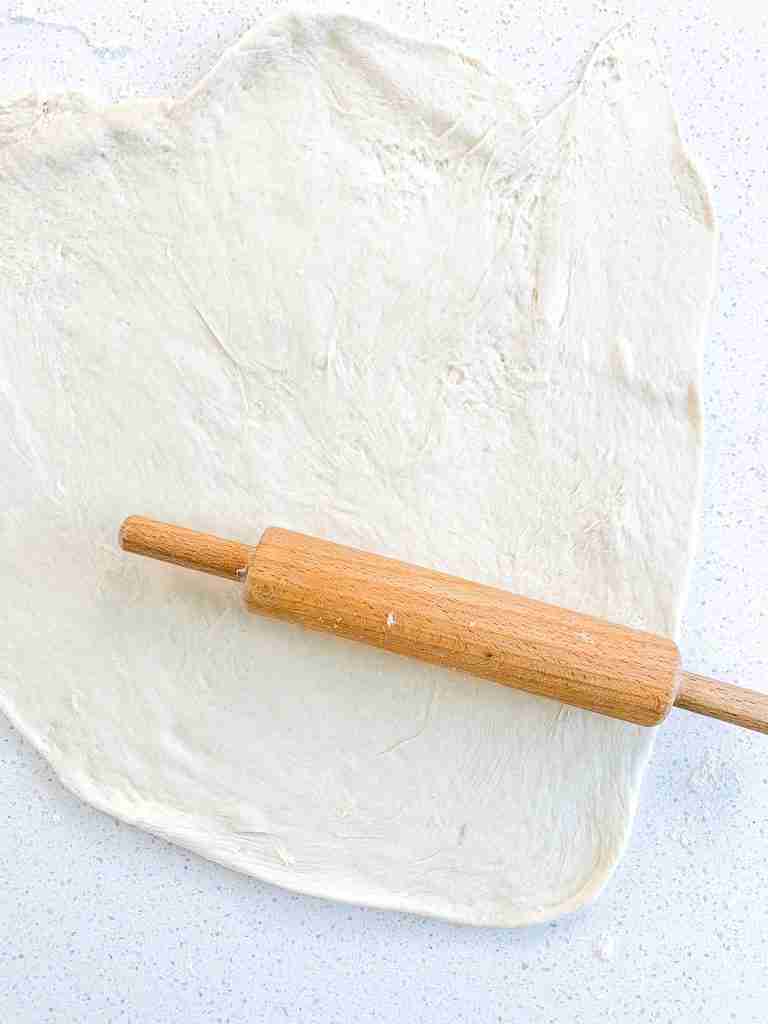
Roll 1 dough section out on a lightly floured surface with a rolling pin to the shape and thickness you desire (1/4″ for thin crust or 1/2″ for hand-tossed). Use other section as desired.
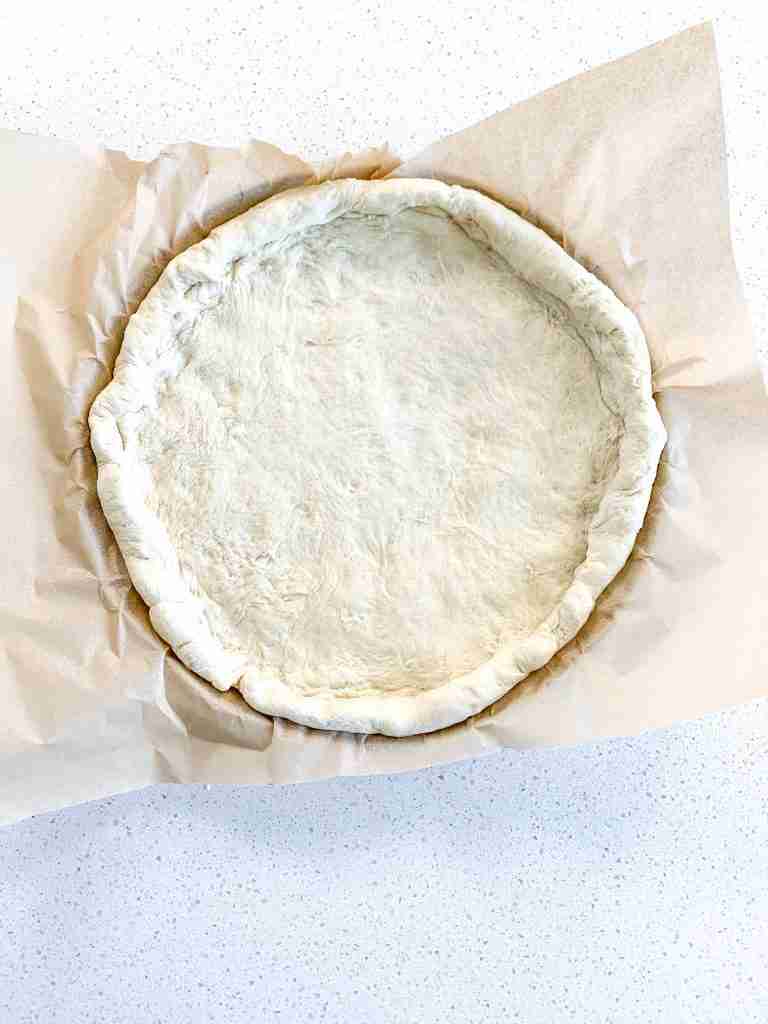
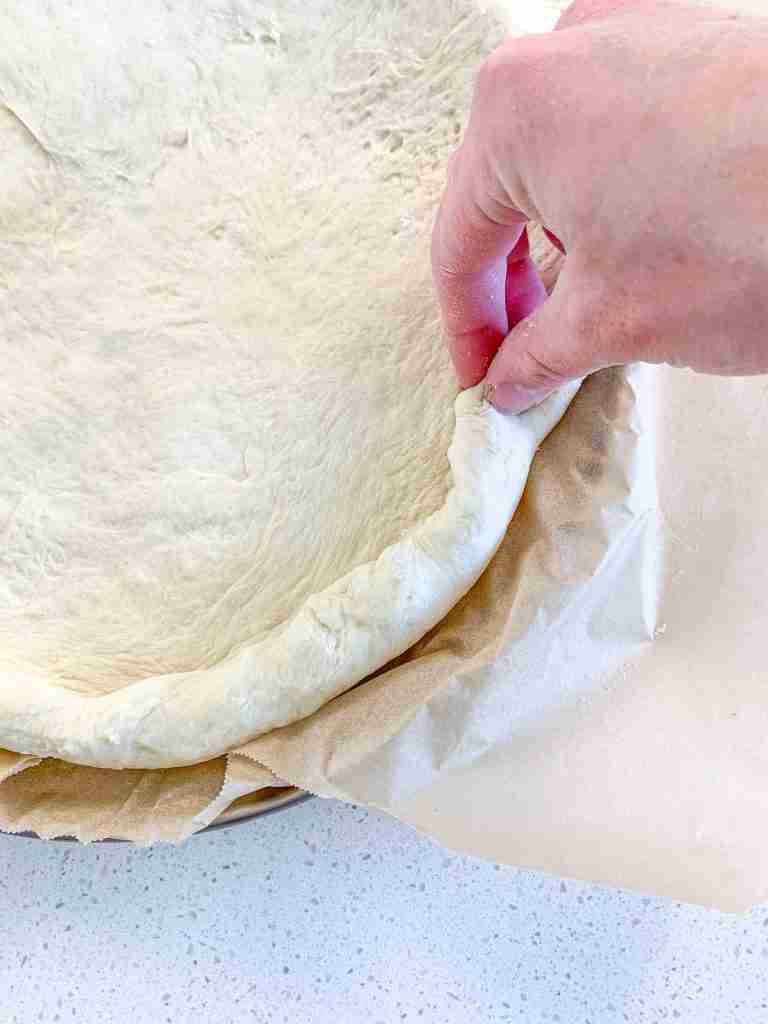
Place rolled-out dough on a preheated pizza stone or a parchment-lined baking sheet.
Bake dough for 8-10 minutes before adding the sauce and toppings.
Pull out of oven and add sauce and toppings of choice.
Bake for an additional 15-18 minutes until the crust is golden brown and the cheese is melted and bubbly. Enjoy!
Video Tutorial
Make This Pizza Crust Ahead
Make this pizza dough ahead of time by whipping up the dough, letting it bulk ferment, and then placing it in the fridge up to 3 days in an air-tight container.
How to Store Leftover Sourdough Pizza
Store leftover cooked pizza in an air-tight container for up to 3 days in the fridge.
Storing the Dough
Store uncooked pizza dough in an air-tight container in the fridge for up to 3 days.
Freezing Instructions
How to Freeze the Dough
Store uncooked pizza dough in an air-tight container in the freezer for up to 1 month.
How to Freeze the Crust
Bake the crust, let it cool completely, place in a freezer safe bag or container, and store for up to 3 months in the freezer.
When you’re ready to use it, let it thaw in the fridge or on the counter overnight.
Best Way to Reheat Pizza
Reheat in the oven at 400 degrees Fahrenheit for 8-10 minutes or until warm.
Recipe FAQ
It’s best if baked within 2-3 days after combining the ingredients.
Yes! Sourdough starter replaces commercial yeast adding a delicious tang and gut benefits. There’s even a few restaurants in New York City that use sourdough in their pizza crust.
The sourdough starter adds gut benefits from the fermentation cultures. This can make digestion easier which is better for your stomach than commercial yeast.
Normal pizza dough uses commercial yeast to rise. Sourdough pizza dough uses sourdough starter cultures to rise.
More Sourdough Pizza Night Recipes
- Sourdough Focaccia Pizza
- Sourdough Pesto Garlic Bread
- Quick & Easy Sourdough Garlic Bread
- Sourdough Garlic Knots (Better Than Frozen Store Brands)
- Quick Marinara Dipping Sauce From Scratch
If you made this recipe, give it a 5-star rating below and share a photo of your brioche buns on your social media stories! Be sure to tag @plumbranchhome
Recipe

Sourdough Pizza Crust (Better than Pre-Made)
Ingredients
- 1/2 cup fed sourdough starter
- 1 cup water
- 3 Tbsp olive oil or avocado oil
- 1 tsp salt
- 2 tsp raw honey
- 3 cups all-purpose flour
Instructions
- BEFORE YOU GET STARTED: Feed your entire sourdough starter jar 4-12 hours before starting this recipe. I recommend feeding your entire starter a 2:1 ratio of unbleached flour to filtered water to get the same results as I do when making this recipe. (Example: Feed entire starter 1 cup flour + 1/2 cup water and let it sit on the counter at room temperature until it's bubbly and has grown in the jar. Your starter needs to be active, bubbly, and a thicker consistency to use in this recipe.)
- Add all ingredients into a large mixing bowl and stir to combine (dough may be shaggy).
- Use your hands to bring dough into a ball (add 1 Tbsp extra water if needed).
- Turn dough out onto a lightly floured surface and knead by hand for 3 minutes.
- Place dough back into the bowl and cover for 10-12 hours to bulk ferment in a warm space. Please see notes below!
- OPTIONAL: When the bulk ferment is over you can continue this recipe OR cover the dough with an airtight lid or saran wrap. Then place it in the fridge up to 3 days until you're ready to use it.
- When you're ready to continue, divide the dough into 2 even pieces (you can make 2 pizzas or 1 pizza and a side with this, or freeze one section of the dough and use the other).
- Preheat oven to 450 degrees Fahrenheit (if you're using a pizza stone place it in the oven now)
- Roll 1 dough section out on a lightly floured surface with a rolling pin to the shape and thickness you desire (1/4" for thin crust or 1/2" for hand-tossed). Roll the edges a little if you want a crust.
- Use other section as desired.
- Place rolled-out dough on a preheated pizza stone or a parchment-lined baking sheet.
- Bake dough for 8-10 minutes before adding the sauce and toppings.
- Pull out of oven and add sauce and toppings of choice.
- Bake for an additional 15-18 minutes until the crust is golden brown and the cheese is melted and bubbly. Enjoy!
Video
Notes
- If your dough doesn’t look like it’s doing anything halfway through the rises, you need to place it in a slightly warmer area.
- This can be in a turned-off oven with the light on and oven door open, or you can slightly warm the oven to about 75-80 degrees Fahrenheit, then turn it off and place your dough inside with the door shut.
- Never leave the oven on, even on the keep warm setting, with fermenting dough inside. Your dough, for both rises, needs to double.
- If your dough doesn’t double even in the warmer area, there is a problem with your starter. It is too weak to ferment the dough even in a warm environment.
- To fix this, you will want to leave your starter out on the counter for 2 days and feed it every 12 hours at a 2:1 ratio of unbleached flour to filtered water.
- For example, 1 cup unbleached flour + 1/2 cup filtered (or bottled) water.
- Make sure you’re using unbleached flour and filtered or bottled water to do this. If you don’t, it will affect your starter strength. Reverse osmosis water (or any water that uses salt in the filter) can make the starter weak.
- This will strengthen the cultures in your starter to give you fluffy baked bread and treats. After the 2 days, you can go back to feeding it like usual (once a week if stored in the fridge or once a day if stored on the counter). Be sure to use the 2:1 ratio feeding from here on out.
In your video you say preheat your pizza stone or pan … do you mean a pizza steel or will just a stainless steel sheet pan like the one you recommended in the tools link work ?
Great question! If you’re using a pizza stone (made of ceramic or clay) or pizza steel (made of steel) you need to put it in the oven right away so it can preheat. If you’re using a stainless steel pan (like I have linked) you can skip this part. You don’t need to preheat a regular pan.