Sourdough Pumpkin Bagels
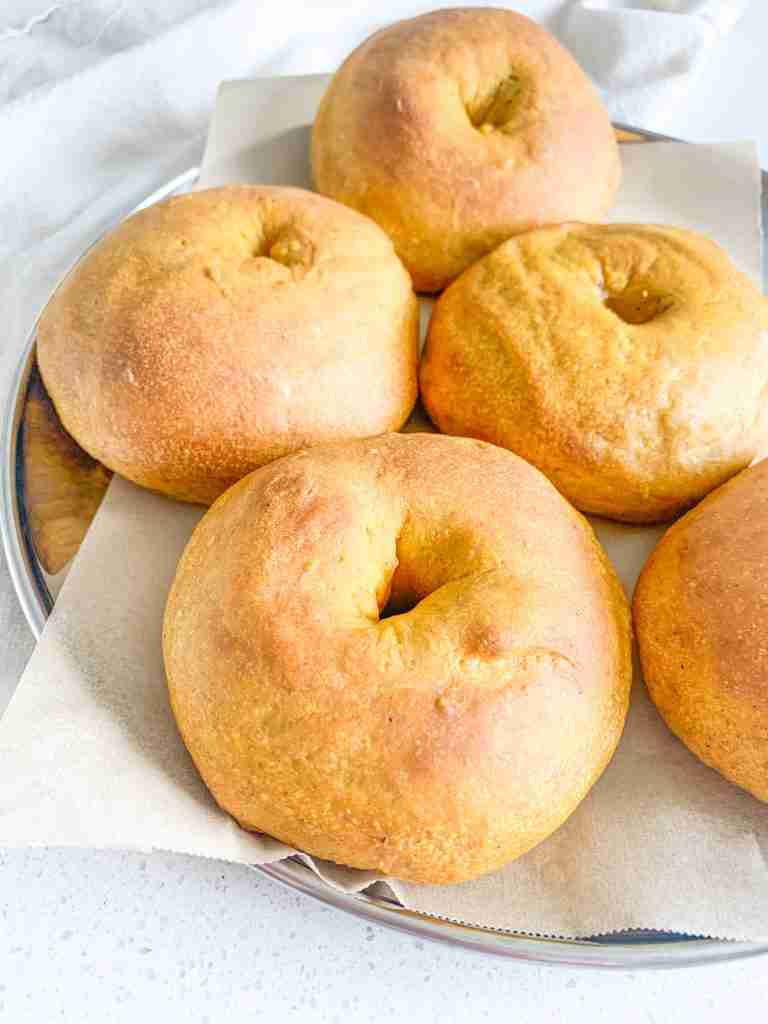
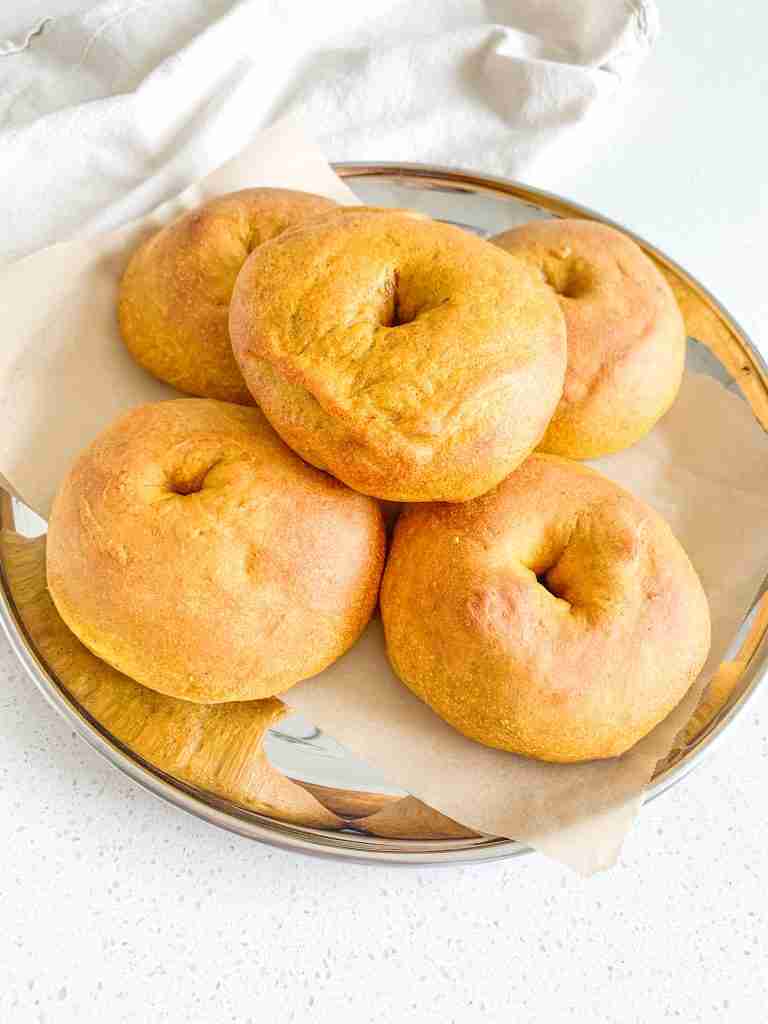
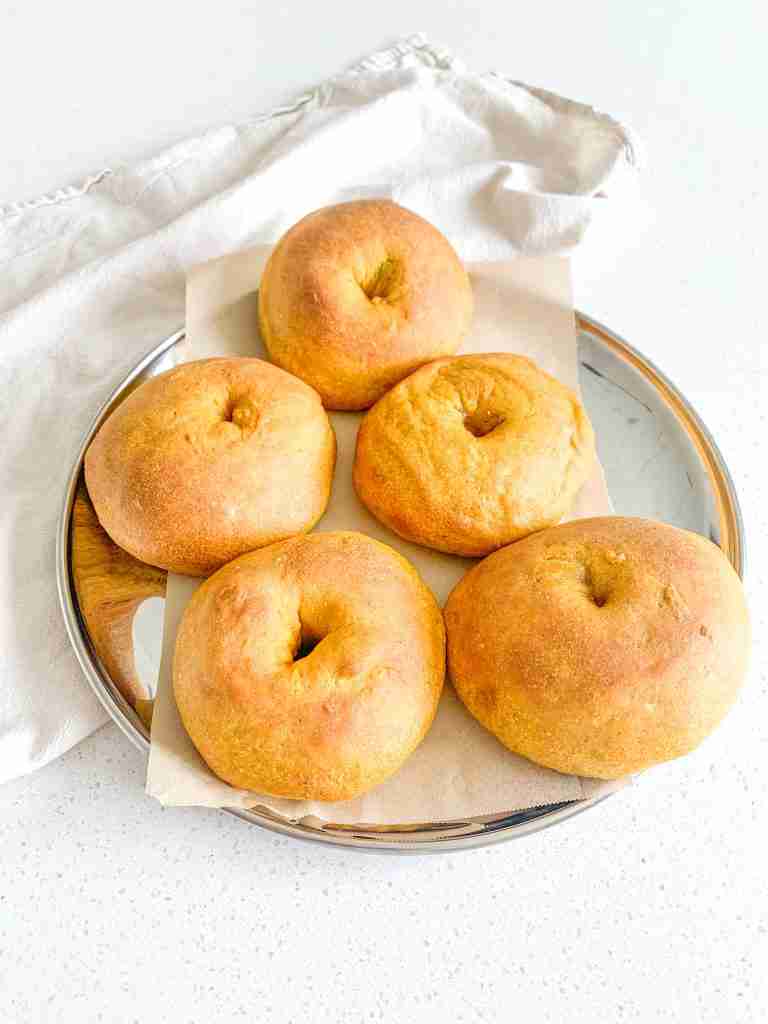
My sourdough pumpkin bagels are soft, fluffy, and perfectly spiced! You can make them sweet or savory based on your cream cheese of choice! My original bagels were such a hit, I had to create a pumpkin version for fall. They’ve become one of our favorite fall breakfasts for Saturdays and Sunday mornings after church!
This post may contain affiliate links of items I know and love. Read our disclosure policy for more information. I NEVER use AI (artificial intelligence) to create content for Plum Branch Home. Recipes, blog posts, photos, videos, podcasts, social media content: everything is made from scratch by me, Molly LaFontaine. After developing my recipes, they’re tested 2x by my husband, Tyler, and I before publishing. What you see from Plum Branch Home is real. It’s made for a reason, tested, and loved!
If you want to make this recipe but don’t have a sourdough starter, no worries! Grab my free guide so you can make your own starter at home.
If you’re new to sourdough baking and feel hesitant, or you have questions, I’ve got something for you! I broke down the basics of what you need to know about sourdough baking in my free sourdough baking guide for beginners. I highly recommend grabbing a copy!
Inspiration Behind My Sourdough Pumpkin Bagels
My original sourdough bagel recipe was such a hit here on the blog that I knew I had to do a fall-flavored bagel! And what’s better than pumpkin during fall?!
I didn’t want them to be too sweet. That way you could do regular cream cheese or butter for a savory breakfast or a sweetened cream cheese for a sweet breakfast.
I hope you love them as much as we do! Every fall I make at least one batch for breakfast. It’s one of our favorites.
Why You’ll Love My Sourdough Pumpkin Bagel Recipe
- Wholesome Ingredients: Every ingredient is wholesome, so you don’t have to worry about any nasty dough conditioners or additives.
- Beginner-Friendly: The process is simple enough for beginners to follow along.
- Super Easy Recipe: The steps are super simple and easy to follow.
- Perfect Fall Breakfast: It’s the perfect sweet and savory fall breakfast recipe.
- The Best Texture: You get a chewy outside and a soft, fluffy inside with each bite.
Why Make Pumpkin Bagels with Sourdough Discard
When you make bagels with sourdough discard instead of yeast, you get fermentation benefits from the sourdough starter’s cultures!
My Tips for Making Sourdough Pumpkin Spice Bagels
- Use avocado oil for the best results, but you can also use melted butter.
- Feed your sourdough starter in a 2:1 ratio (of flour and water) 4–12 hours before using it.
- Don’t skip the kneading process or shorten it.
- Let the dough bulk ferment for the full 12 hours to ensure the fermentation is completed.
- Make sure you add both maple syrup and baking soda to the water bath when boiling bagels.
- After shaping, let your shaped bagels rise for a good 3-4 hours so they are puffy and double before putting them in the water bath.
Ingredients You’ll Need (with notes and substitutions)
Note: Please see the recipe card at the bottom of this blog post for measurements.
For the Pumpkin Bagels
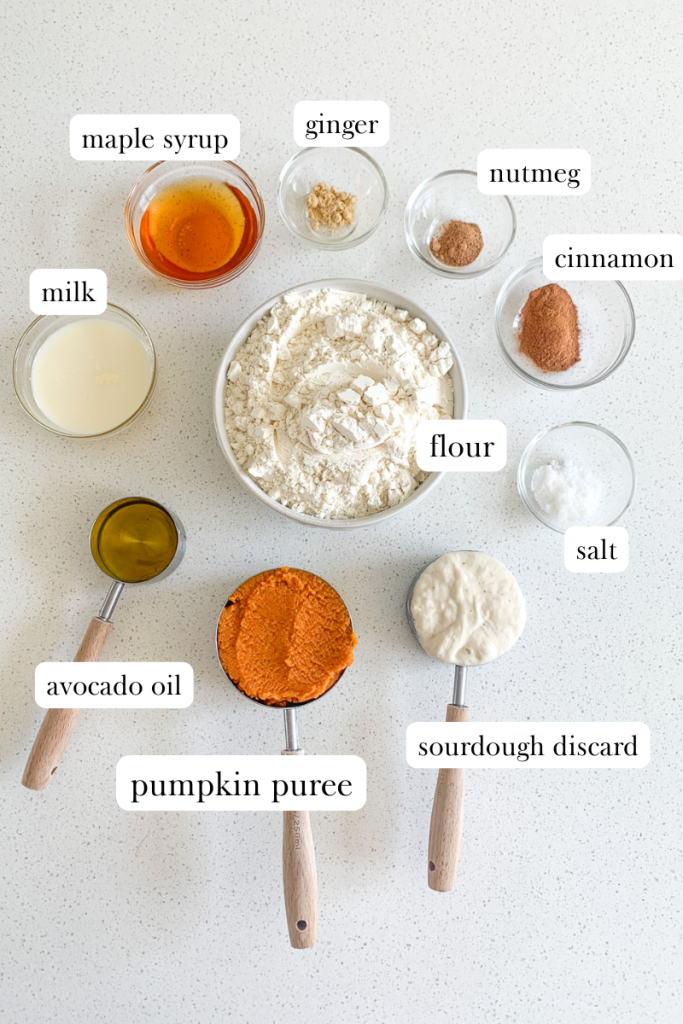
- sourdough starter: you’ll want to feed it before making this recipe
- all-purpose flour: a great base for making bagels
- pumpkin purée: you can use any canned version just make sure it’s unsweetened
- salt: I like using sea salt
- ground cinnamon: adds so much fall flavored spice
- ground nutmeg: adds warmth
- ground ginger: adds the perfect extra spice
- avocado oil: you can also use melted butter
- pure maple syrup: make sure it’s the pure kind not the corn syrup based
- milk: I like to use whole milk
For the Water Bath
- baking soda: this helps give the bagels the traditional texture
- pure maple syrup: adds a little flavor but you can also use raw honey
Helpful Kitchen Tools for this Recipe
This section contains Amazon affiliate links to items I use and love for this recipe.
- mixing bowl
- bench scraper (optional but highly recommended!)
- unbleached parchment paper
- baking sheet
How to Make Sourdough Pumpkin Bagels
Note: Please see the recipe card at the bottom of this blog post for the full written recipe.
Before You Begin Feed Your Starter
BEFORE YOU GET STARTED: Feed your starter 4-12 hours before starting this recipe. I recommend feeding it a 2:1 ratio of unbleached flour to filtered water to get the same results as I do when you make this recipe.
Example: Feed your ENTIRE sourdough starter jar 1 cup flour + 1/2 cup water and let the starter sit on the counter at room temperature until it’s bubbly and has grown in the jar. Your starter needs to be active, bubbly, and a thicker consistency to begin this recipe.
Step 1: Make the Bagel Dough
In a mixing bowl, add fed starter, pumpkin puree, avocado oil, salt, cinnamon, nutmeg, ginger, maple syrup, and milk. Stir until combined.
Add in flour and mix until combined. Depending on your starter hydration it may be shaggy, so use your hands to finish combining it into a dough ball until all the flour is incorporated.
Knead the dough for 2 minutes (by hand or with a stand mixer with a kneading hook attachment) it will be a little sticky, add flour to your workspace if needed but not too much.
Place it back into the mixing bowl. Cover it loosely with a lid, plastic wrap, damp tea towel.
Step 2: Bulk Ferment the Dough
Let dough sit on the counter at room temperature to bulk ferment for 12 hours or until dough has doubled or tripled in size and has air bubbles.
OPTIONAL: Once the bulk fermentation is finished, you can place the dough in the fridge for up to 48 hours if you want more fermentation benefits or need more time before baking. You don’t have to do this, it’s optional!
Step 3: Divide the Dough and Shape the Bagels
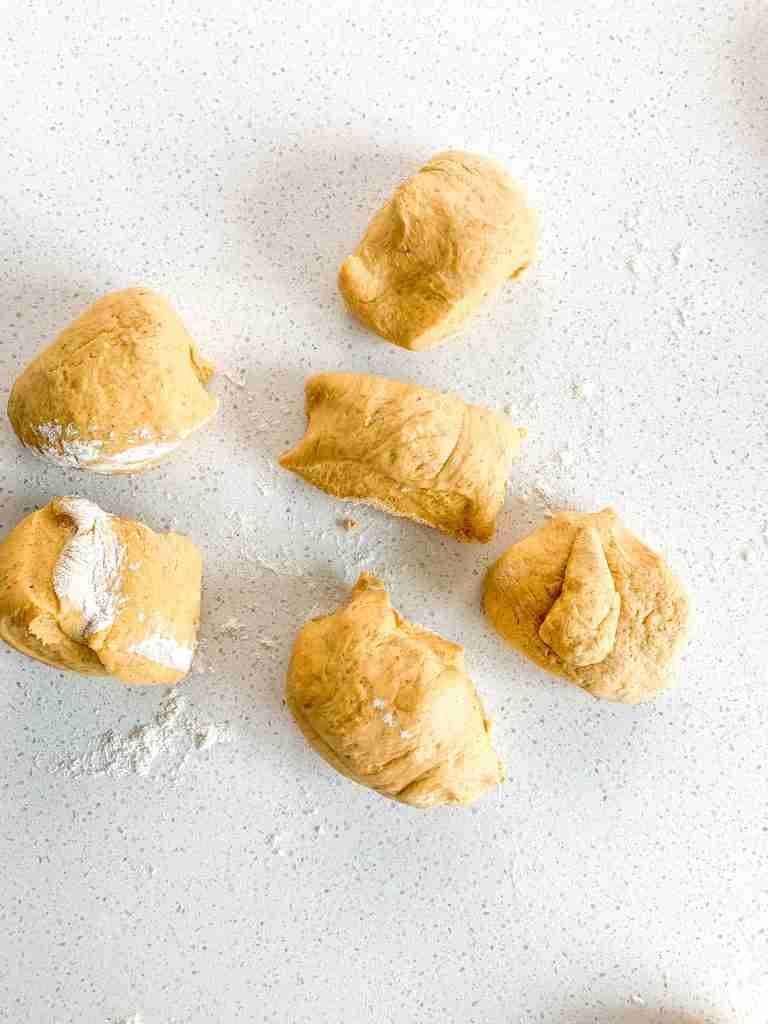
Turn dough out on to the counter (no flour needed) and cut into six even pieces.
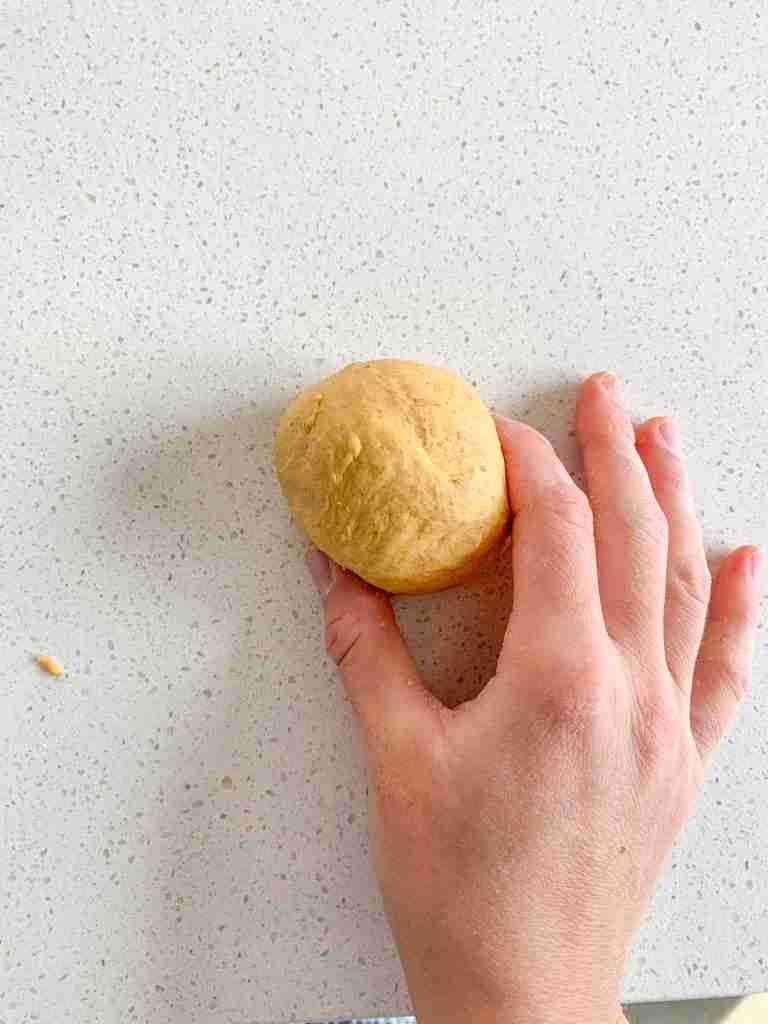
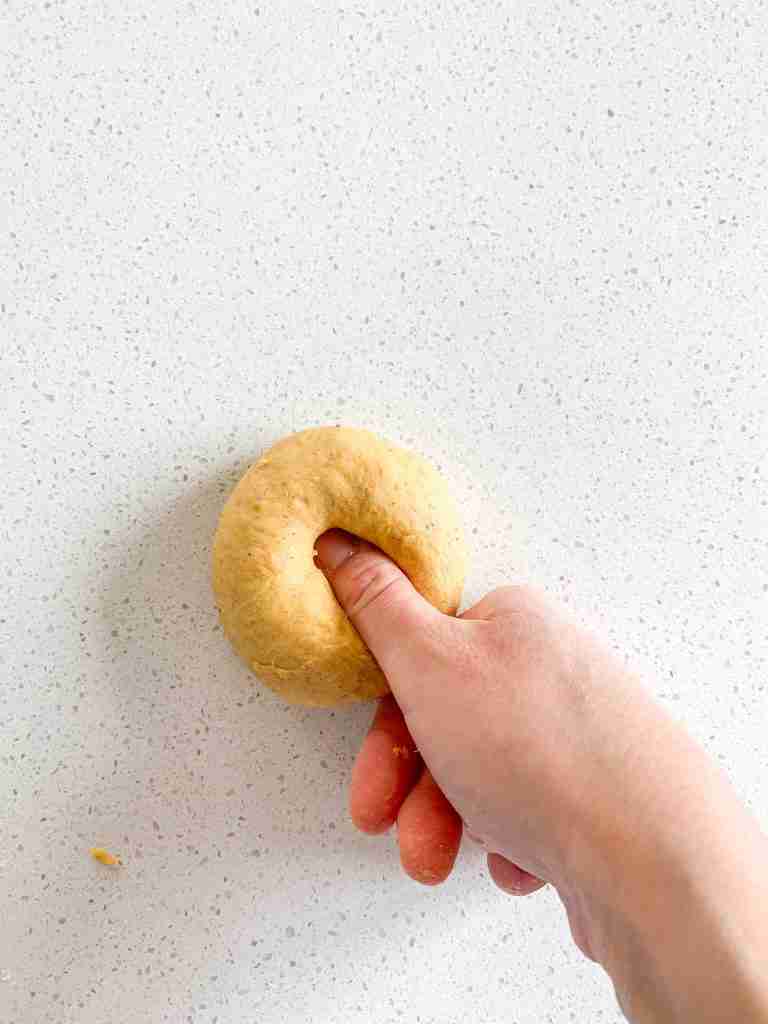

Shape each piece into a ball, push your thumb through the middle to create the a hole in the center.
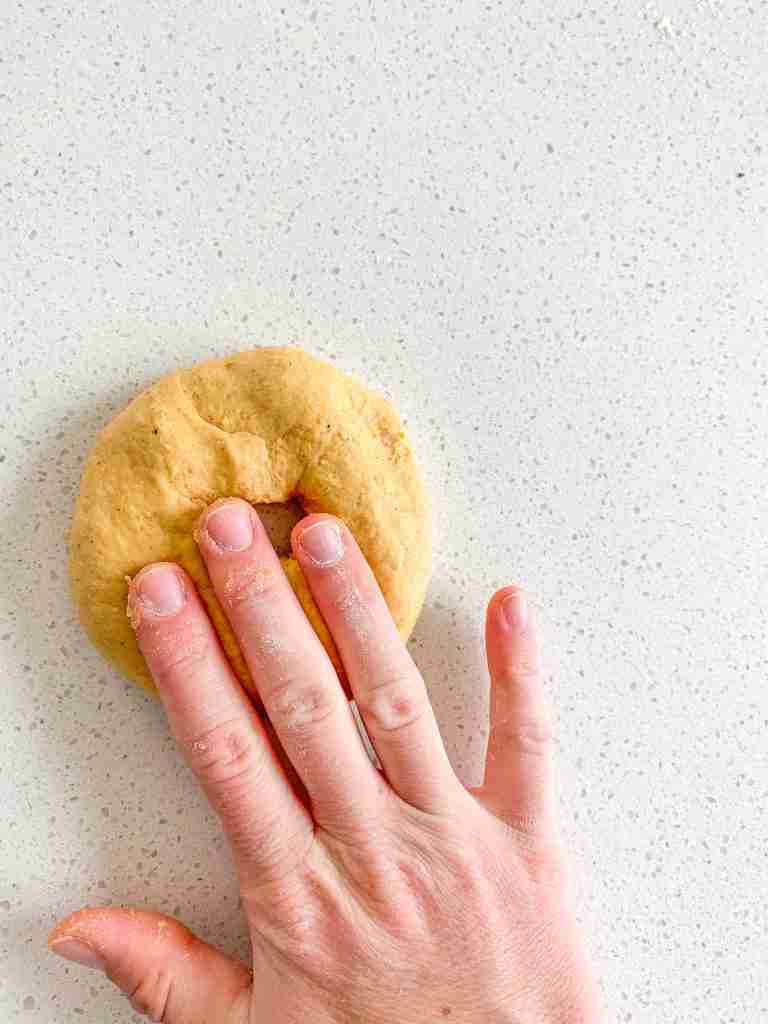
Finally use your hands to flatten it out into a bagel shape.
Repeat this step until all six bagels are shaped.
Step 4: Proof the Bagels
Place bagels on a parchment-lined sheet pan, about 2 inches apart. Loosely cover them with a dry kitchen towel or plastic wrap.

Let bagels rise for 3-4 hours until they are puffy and have increased in size.
Step 5: Boil the Bagels in a Water Bath
Preheat oven to 425 degrees Fahrenheit.
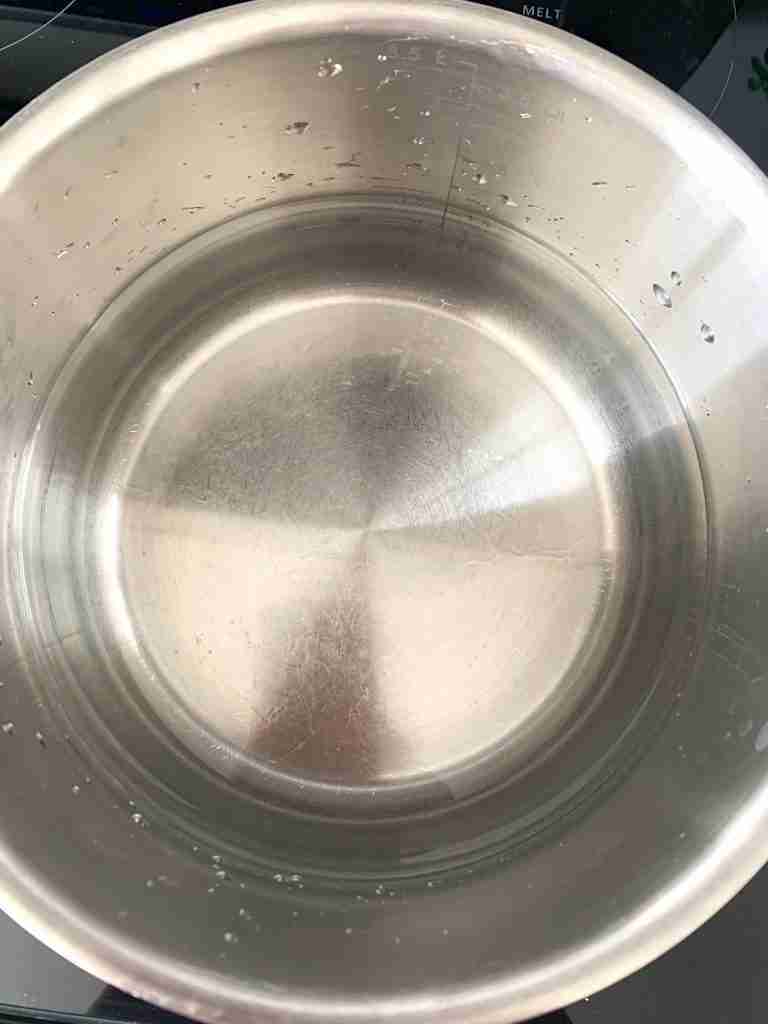
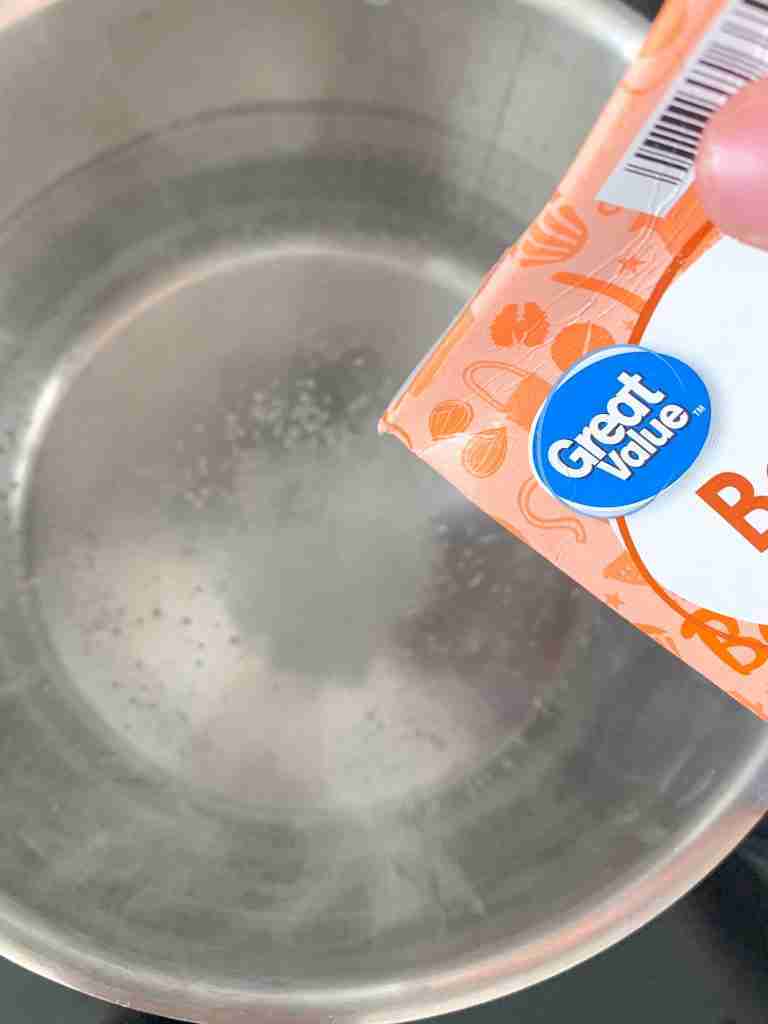
To continue the recipe, fill a large pot halfway with water and add baking soda and maple syrup. Stir to combine, and bring to a boil.
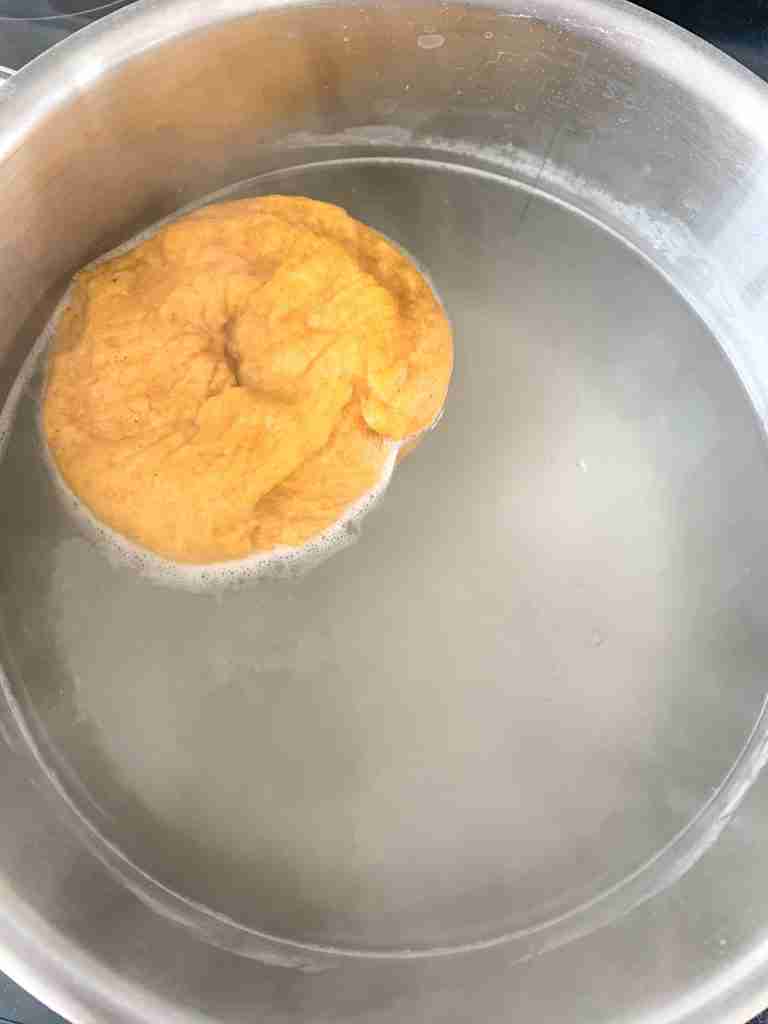
Turn down the heat to medium and drop in 1-2 bagels at a time. Simmer for 30 seconds, then flip and let them simmer for another 30 seconds. (If the bagels were in the fridge, they may not float right away; just nudge them after the first 30 seconds before flipping.)
Remove bagels from the water bath with a spider strainer or slotted spoon, allowing excess water to drip off.
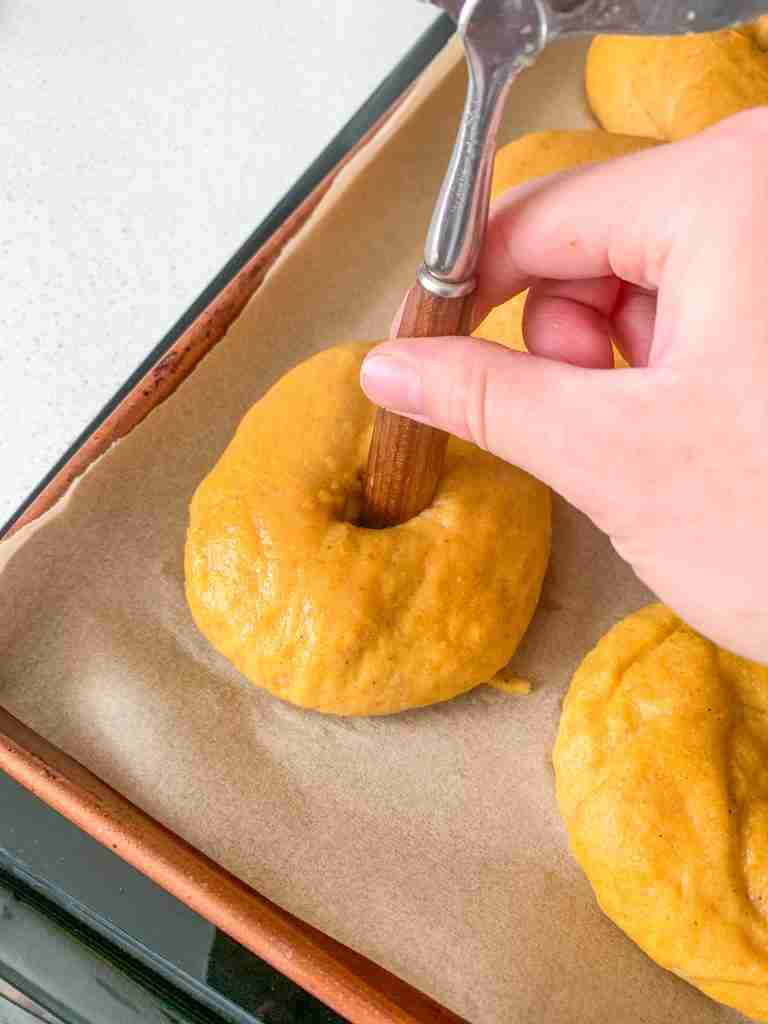
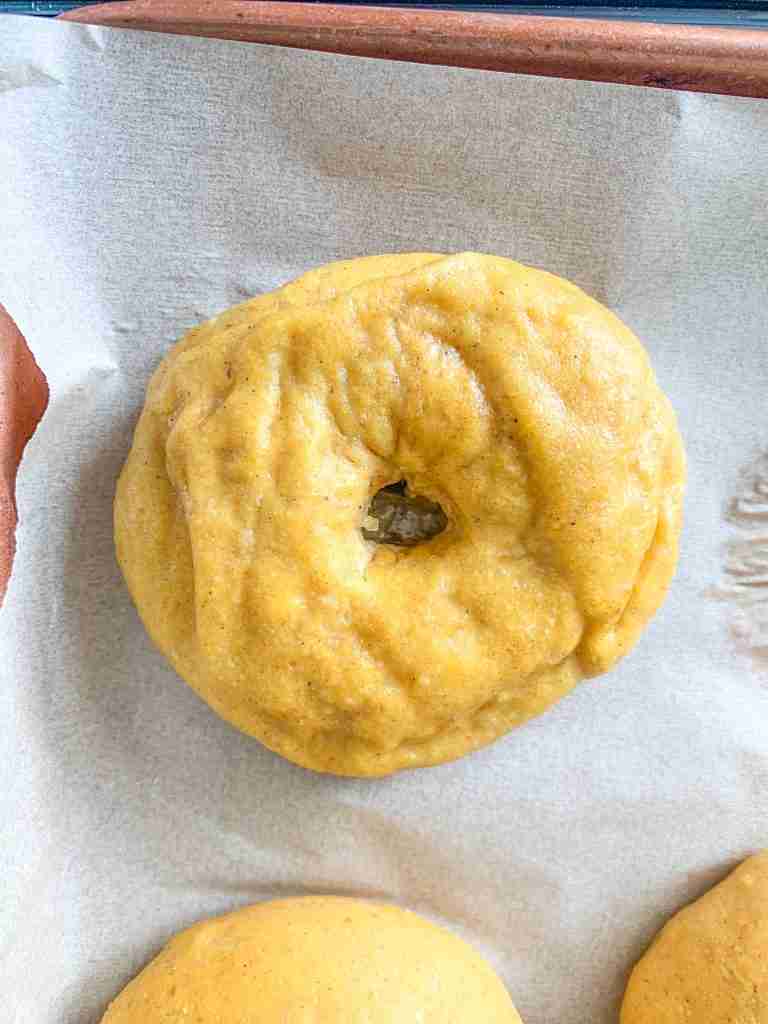
Place bagels back on parchment-lined baking sheet, 1-2 inches apart. Use the spatula or spoon handle to remake the bagel hole if needed.
Repeat until all bagels go through the water bath.
Step 6: Bake the Bagels and Cool

Bake bagels for 20–25 minutes at 425 degrees Fahrenheit.
Cool on a wire rack and enjoy!
Video Tutorial
My Favorite Way to Serve These Bagels
You can serve these bagels in so many ways, for so many occasions! My favorite is always sliced in half and toasted with some kind of cream cheese for breakfast.
You can do regular cream cheese, maple cream cheese, or an extra special homemade cinnamon brown sugar cream cheese. I’ve included the recipe below.
Cinnamon Brown Sugar Cream Cheese Spread
- 4 oz. cream cheese
- 2 Tbsp brown sugar
- 1 tsp ground cinnamon
Combine all 3 of these ingredients in a bowl to taste and spread on your pumpkin bagel.
How to Store Sourdough Bagels
Store sourdough bagels in an airtight container, preferably glass, for up to 6 days at room temperature. You can also store them in the fridge. The longer they’re stored, the more stale they’ll get.
Freezing and Thawing Sourdough Bagels
Freeze: Place bagels in a freezer-safe container or baggie for up to 3 months.
Thaw: Thawing sourdough bagels is super easy. Just move them from the freezer to the fridge the night before you want to enjoy them. They’ll thaw overnight and be ready by morning! Or you can sit them on the counter for a few hours at room temperature.
Best Way to Reheat and Toast Bagels
To reheat and toast your bagels, slice them in half and pop them in the toaster. You’ll get a delicious toasted crunch with a soft interior. You can also do this in the oven.
Frequently Asked Questions
I recommend using a fed starter, but if you want, you can use discard. Just know that they won’t rise as much or be as fluffy in texture. They will be a bit more dense.
It doesn’t matter what brand; use any canned pumpkin puree. If you want to use homemade puree, go right ahead! Just make sure it’s a thick consistency so your dough doesn’t get too runny.
No, they are not. They are pumpkin flavored but bagel shaped.
Sure, I don’t see why not!
Yes! Boiling bagels in a water bath gives them the bagel texture.
More Sourdough Pumpkin Recipes to Try
If you’re looking for more easy sourdough pumpkin recipes, try a few of these:
- Sourdough Pumpkin Muffins
- Sourdough Pumpkin Scones (with chocolate chips)
- Sourdough Pumpkin Cinnamon Rolls
- Sourdough Pumpkin Bread (same-day or overnight)
- Mini Sourdough Chocolate Chip Pumpkin Cookies
If you made this recipe, give it a 5-star rating below and share a photo on your social media stories! Be sure to tag @plumbranchhome
Recipe
Sourdough Pumpkin Bagels
Ingredients
Bagels
- 1/2 cup fed sourdough starter
- 3 cups all-purpose flour
- 1 cup pumpkin purée
- 1 1/2 tsp sea salt
- 1 1/2 tsp ground cinnamon
- 1/2 tsp ground nutmeg
- 1/2 tsp ground ginger
- 1/4 cup avocado oil (or 4 Tbsp melted butter)
- 1/4 cup pure maple syrup
- 1/4 cup milk
Water Bath
- 1 tsp baking soda
- 2 tsp pure maple syrup
Instructions
Feed Your Starter
- BEFORE YOU GET STARTED: Feed your starter 4-12 hours before starting this recipe. I recommend feeding it a 2:1 ratio of unbleached flour to filtered water to get the same results as I do when you make this recipe.Example: Feed your ENTIRE sourdough starter jar 1 cup flour + 1/2 cup water and let the starter sit on the counter at room temperature until it's bubbly and has grown in the jar. Your starter needs to be active, bubbly, and a thicker consistency to begin this recipe.
Make Bagel Dough
- In a mixing bowl, add fed starter, pumpkin puree, avocado oil, salt, cinnamon, nutmeg, ginger, maple syrup, and milk. Stir until combined.
- Add in flour and mix until combined. Depending on your starter hydration it may be shaggy, so use your hands to finish combining it into a dough ball until all the flour is incorporated.
- Knead the dough for 2 minutes (by hand or with a stand mixer with a kneading hook attachment) it will be a little sticky, add flour to your workspace if needed but not too much.
- Place it back into the mixing bowl. Cover it loosely with a lid, plastic wrap, damp tea towel.
Bulk Rise
- Let dough sit on the counter at room temperature to bulk ferment for 12 hours or until dough has doubled or tripled in size and has air bubbles.
- OPTIONAL: Once the bulk fermentation is finished, you can place the dough in the fridge for up to 48 hours if you want more fermentation benefits or need more time before baking. You don't have to do this, it's optional!
Shape Bagels
- Turn dough out on to the counter (no flour needed) and cut into six even pieces.
- Shape each piece into a ball, push your thumb through the middle to create the a hole in the center, and finally use your hands to flatten it out into a bagel shape.
- Repeat this step until all six bagels are shaped.
Second Rise
- Place bagels on a parchment-lined sheet pan, about 2 inches apart. Loosely cover them with a dry kitchen towel or plastic wrap.
- Let bagels rise for 3-4 hours until they are puffy and have increased in size.
Water Bath
- Preheat oven to 425 degrees Fahrenheit.
- To continue the recipe, fill a large pot halfway with water and add baking soda and maple syrup. Stir to combine, and bring to a boil.
- Turn down the heat to medium and drop in 1-2 bagels at a time. Simmer for 30 seconds, then flip and let them simmer for another 30 seconds. (If the bagels were in the fridge, they may not float right away; just nudge them after the first 30 seconds before flipping.)
- Remove bagels from the water bath with a spider strainer or slotted spoon, allowing excess water to drip off.
- Place bagels back on parchment-lined baking sheet, 1-2 inches apart. Use the spatula or spoon handle to remake the bagel hole if needed.
- Repeat until all bagels go through the water bath.
Bake Bagels
- Bake bagels for 20–25 minutes at 425 degrees Fahrenheit.
- Cool on a wire rack and enjoy!
Video

Notes
Troubleshooting Help for Bulk Fermenting & Rising…
1. What to do if your dough isn’t doubling in size during the bulk ferment and/or 2nd rise:- If your dough doesn’t look like it’s doing anything halfway through the rises, you need to place it in a slightly warmer area.
- This can be in a turned-off oven with the light on and oven door open, or you can slightly warm the oven to about 75-80 degrees Fahrenheit, then turn it off and place your dough inside with the door shut.
- Never leave the oven on, even on the keep warm setting, with fermenting dough inside. Your dough, for both rises, needs to double.
- If your dough doesn’t double even in the warmer area, there is a problem with your starter. It is too weak to ferment the dough even in a warm environment.
- To fix this, you will want to leave your starter out on the counter for 2 days and feed it every 12 hours at a 2:1 ratio of unbleached flour to filtered water.
- For example, 1 cup unbleached flour + 1/2 cup filtered (or bottled) water.
- Make sure you’re using unbleached flour and filtered or bottled water to do this. If you don’t, it will affect your starter strength. Reverse osmosis water (or any water that uses salt in the filter) can make the starter weak.
- This will strengthen the cultures in your starter to give you fluffy baked bread and treats. After the 2 days, you can go back to feeding it like usual (once a week if stored in the fridge or once a day if stored on the counter). Be sure to use the 2:1 ratio feeding from here on out.

This recipe looks delicious, and I love the healthy ingredients you use! As a blogger, I also love the “jump to” section you have at the top of the post. Very nicely done!
Thank you so much! I love focusing on wholesome ingredients so these recipes are nutritious and delicious!
Cannot wait to make these, thank you! I love everything pumpkin! 😉
You’re so welcome! You’re going to love these bagels, they’re the perfect pumpkin flavor!
These look so pretty!! I love a good pumpkin recipe 😊
Thank you so much!! These have the perfect pumpkin flavor!
I love making sourdough bagels and I definitely have to give these a try! I bet they taste so good toasted with cream cheese.
You are going to love them! They are amazing toasted with cream cheese! We love doing cinnamon brown sugar cream cheese, it’s divine!
These look so good! I am putting them on my list of things to try. Not one of your recipes has failed me yet!
I’m so happy to hear that! You’re going to love these bagels!
Yum! I would like to try them with cinnamon baking chips!
That sounds fantastic! What a great idea!
I see your recipes and think that I need to pull out my starter! It’s been dormant in the fridge for way too long! I admit to still being a little intimidated by sourdough, even though I’ve made a few things! These look delicious!
Thank you so much! I’m so happy to hear my recipes are inspiring you to jump back in! If you ever have any questions, please let me know. I’m always here to help!