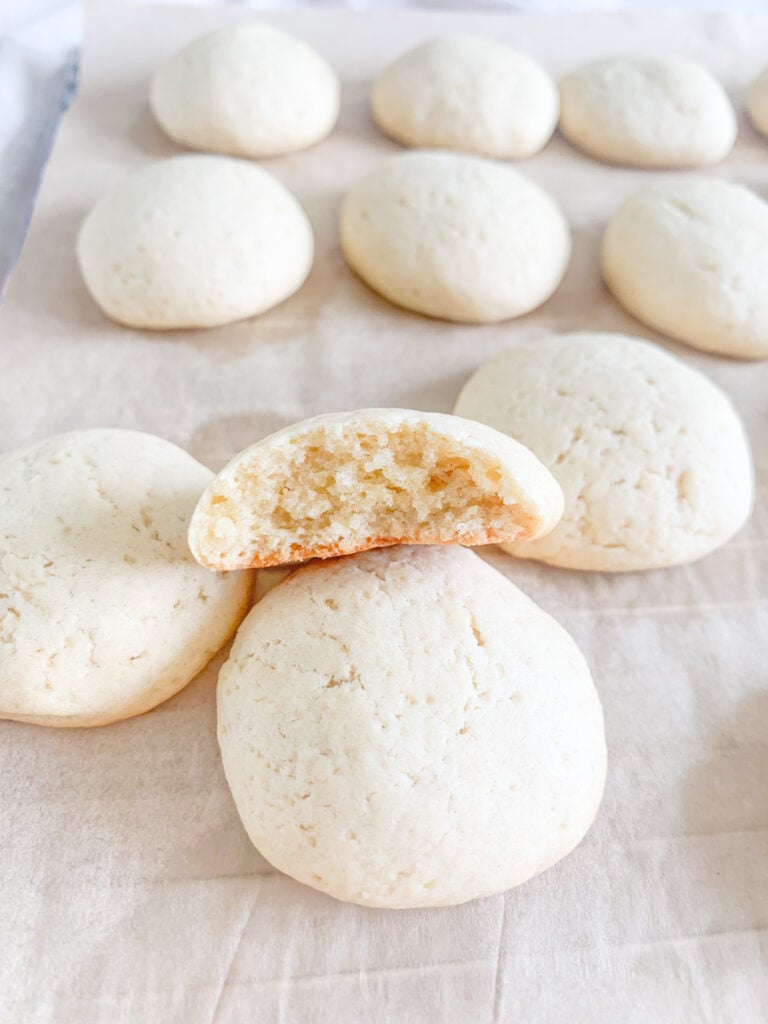
Soft Sourdough Vanilla Wafers
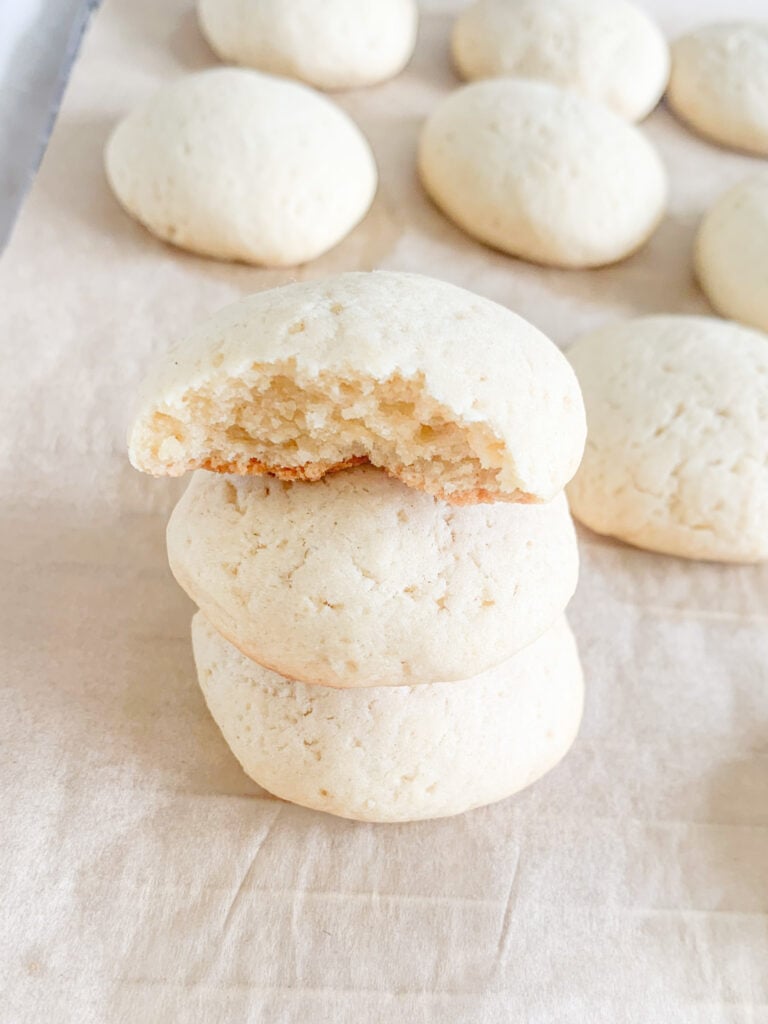
My sourdough vanilla wafers are softer than boxed but similar in flavor! They’re made with simple steps and wholesome ingredients. I love using them to make homemade banana pudding! I hope this recipe helps you replace store-bought vanilla wafers in your home, just like it has in ours!
This post may contain affiliate links but only of items I use and love. As an Amazon Associate, I earn from qualifying purchases. I NEVER use AI (artificial intelligence) to develop recipes, write blog posts, take or edit photos, or make any other content for Plum Branch Home. My recipes are developed by me and tested multiple times to ensure success. What you see from Plum Branch Home is real. It’s made for a reason, tested, and loved!

If you want to make this recipe but don’t have a sourdough starter, no worries! Grab my free guide so you can make your own starter at home.
If you’re new to sourdough baking and feel hesitant, or you have questions, I’ve got something for you! I broke down the basics of what you need to know about sourdough baking in my free sourdough baking guide for beginners. I highly recommend grabbing a copy!
Inspiration Behind My Sourdough Vanilla Wafer Recipe
My husband absolutely loves Nabisco Nilla Wafers, but as an ingredient household, to save money and protect our health, we decided together to stop buying pre-made foods about three years ago.
But I didn’t want us to go without some of our favorites from the store, so I started developing recipes to make them at home. They’re always made with simple, wholesome ingredients, eliminating seed oils, refined sugar, and harmful additives.
This journey led me to making vanilla wafers with sourdough! After I developed and tested the recipe for the first time, I surprised my husband with a plate of them. He was so excited!
I hope you and your loved ones feel the same way each time you make a batch of these cookies!
Why We Love These Wafer Cookies and Think You Will Too!
- Added Sourdough: The sourdough discard adds such a delicious flavor, and some added fermentation benefits.
- Simple Steps: These homemade vanilla wafers are so easy to make!
- Taste like a Store-Bought Nilla Wafers: They taste similar to store-bought just a little softer!
- Wholesome Ingredients: Each ingredient is wholesome; you don’t have any nasty additives or ingredients like in the boxed version at the store.
Why Make Vanilla Wafers with Sourdough
When you make homemade vanilla wafers with sourdough, you get fermentation benefits from the sourdough starter’s cultures. If you long ferment the dough in the fridge for 12-24 hours before baking, those cultures ferment the other ingredients. This long fermentation is optional but adds even more fermentation benefits!
My Tips for Making Homemade Nilla Wafers
- Read the entire recipe before you get started so you know what to expect.
- You’ll want to make each cookie about 1 to 2 tsp of dough. This keeps the wafers small.
- Don’t skip the chilling! It prevents the cookies from spreading when baking.
- Use a good, pure vanilla extract. It’s important for the flavor!

Ingredients You’ll Need (with notes and substitutions)
Note: Please see the recipe card at the bottom of this blog post for measurements
- butter (melted): you can use salted or unsalted
- pure cane sugar: this is my favorite wholesome sugar for baking
- egg: a large egg works great
- sea salt: this is my favorite wholesome salt for baking
- sourdough discard: aka unfed starter but you can also use fed starter, if desired
- pure vanilla extract: I like Walmart’s Great Value pure vanilla, don’t use imitation vanilla
- baking powder: I like to use an aluminum-free version
- all-purpose flour: I like to use unbleached organic but you can use any
Helpful Kitchen Tools for this Recipe
This section contains affiliate links to items I use and love for this recipe. As an Amazon Associate, I earn from qualifying purchases.
How to Make Homemade Vanilla Wafers with Sourdough
Note: Please see the recipe card at the bottom of this blog post for the full written recipe.
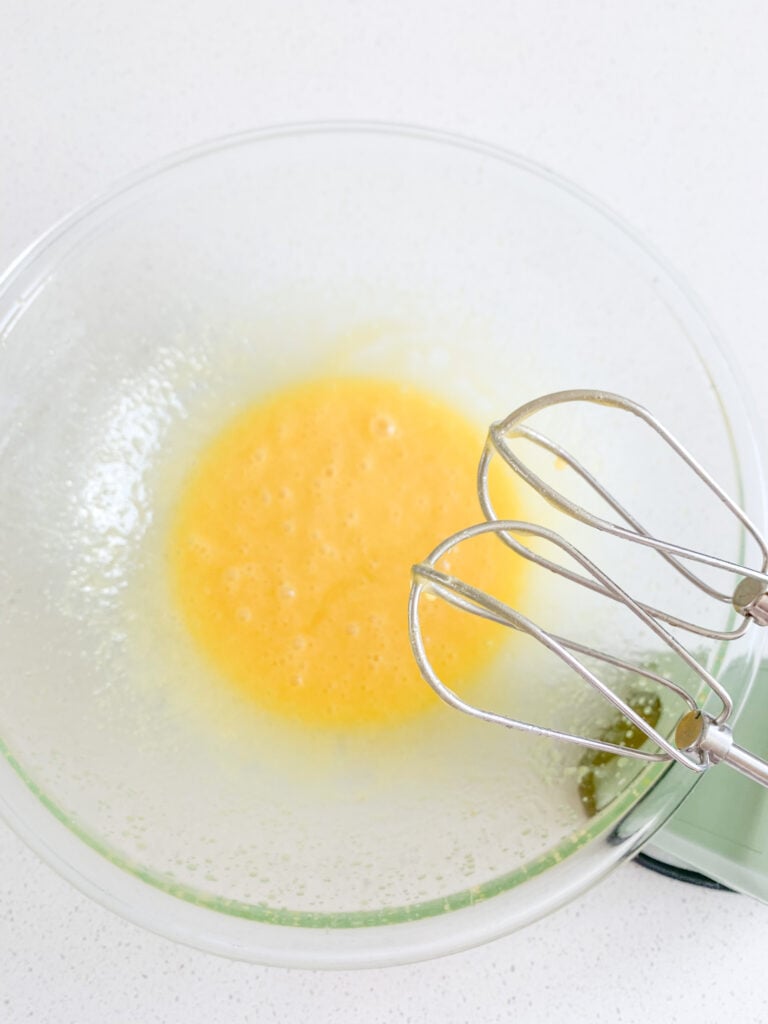
Add melted butter and cane sugar into a mixing bowl. Mix with an electric mixer on medium-speed for 1-2 minutes. Add egg, mix until completely combined.
Add sea salt, sourdough discard, vanilla extract, and baking powder. Mix until combine on a low-medium-speed.
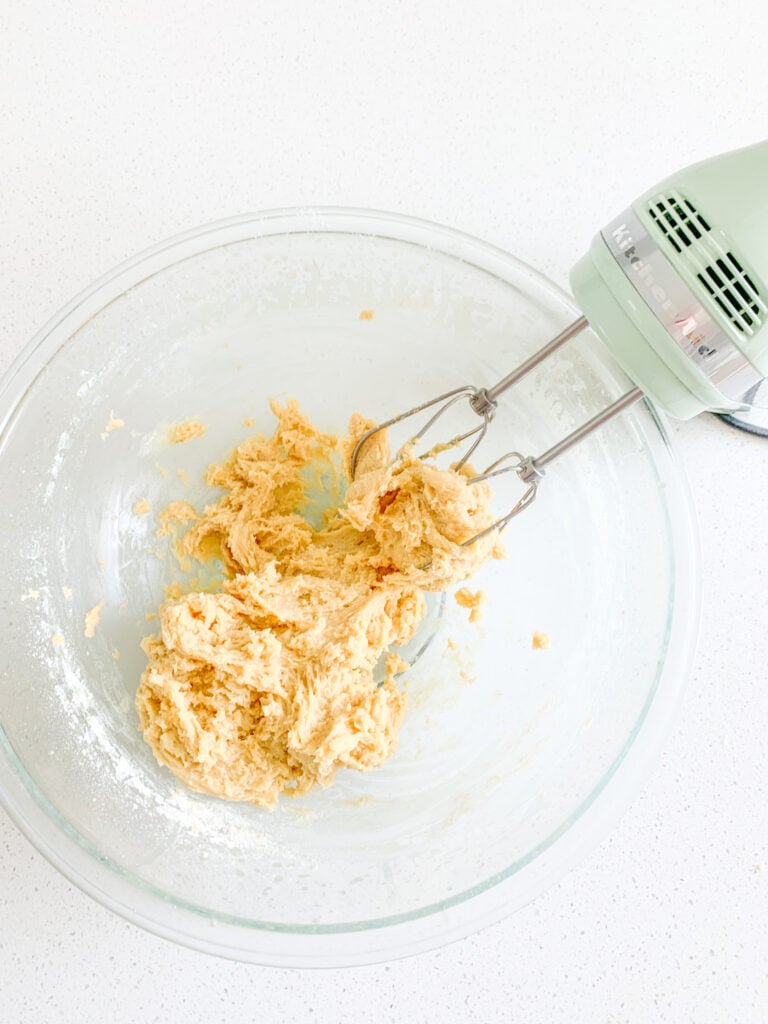
Add flour, a little at a time, and mix on medium-high speed until completely incorporated. The dough will be soft! NOTE: If it won’t combine your starter was less hydrated than mine. Add 1 Tbsp milk. If your dough is excessively sticky your starter was more hydrated. Add 1-2 Tbsp extra flour.
Chill dough in the fridge for 30 minutes or in the freezer for 10 minutes. Do not skip this step! Optional: If you’d like to long ferment the dough for more fermentation benefits (the cultures will ferment all other ingredients) chill, covered, in the fridge for 12-48 hours before baking. You don’t have to do this, it’s completely optional!
Preheat oven to 350 degrees Fahrenheit and line a large baking sheet pan with parchment paper.
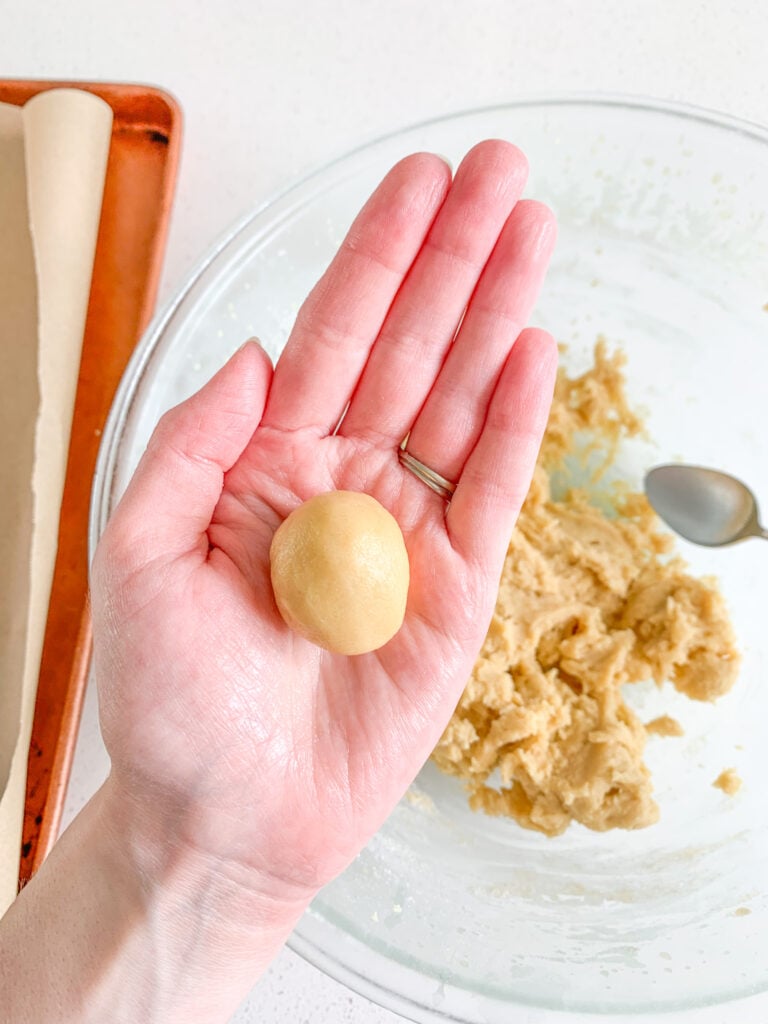
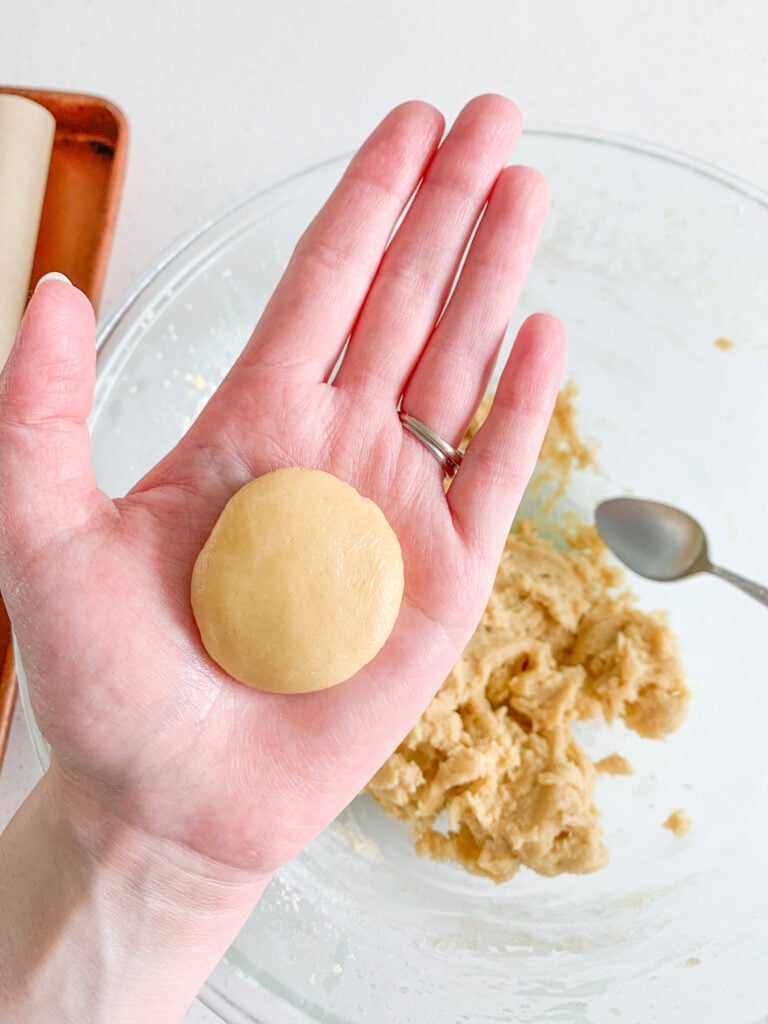
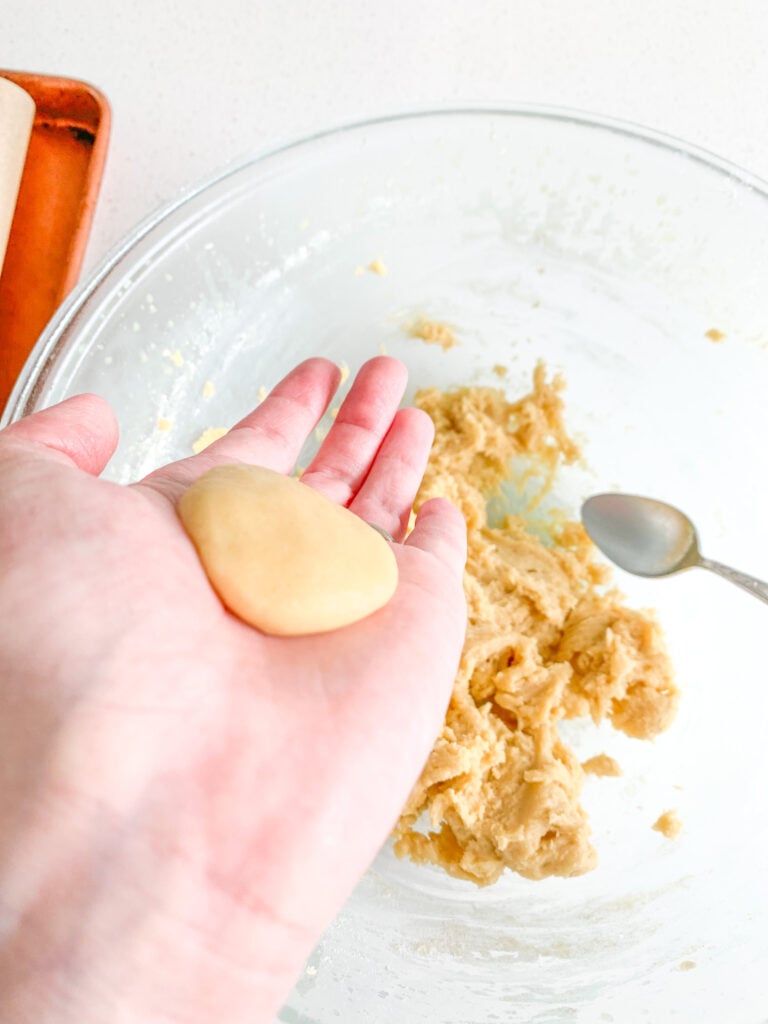
Use a small spoon to scoop 1-2 tsp of dough into your hand, roll it into a ball, and lightly press your hands together to flatten.
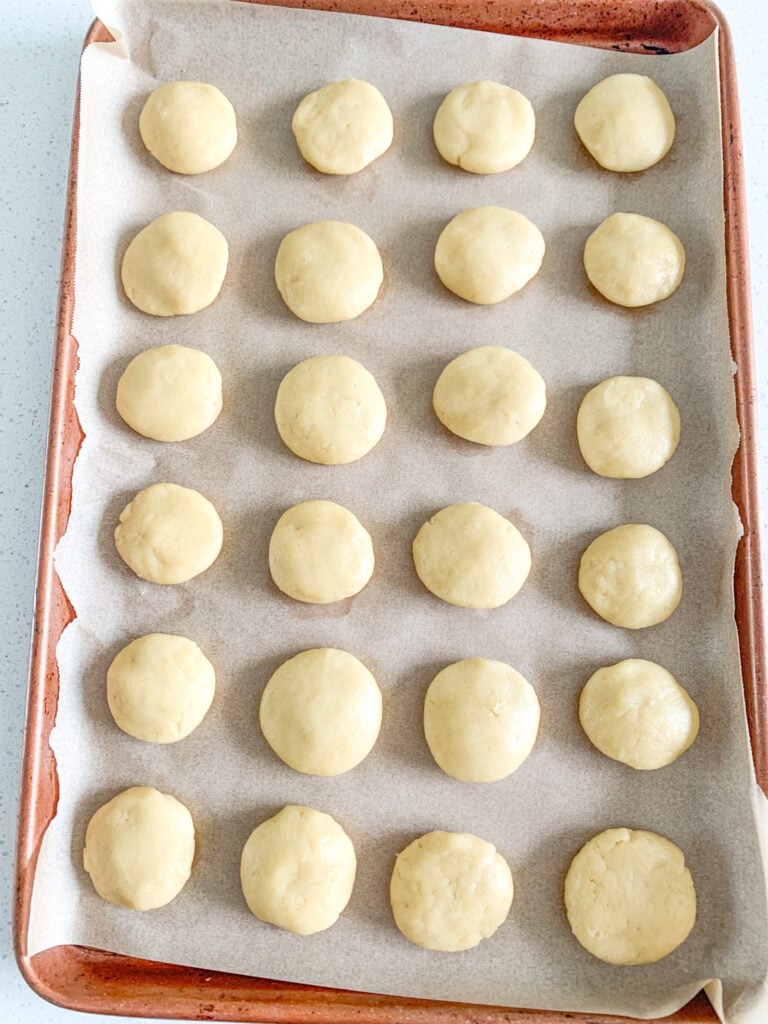
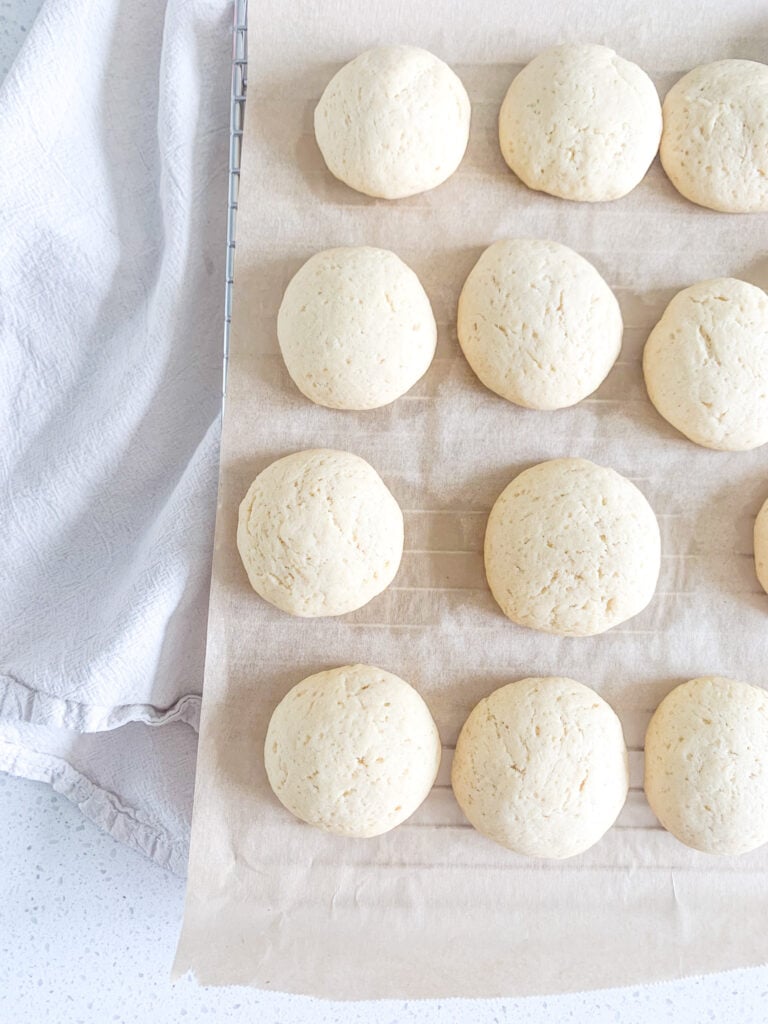
Place on prepared sheet pan 1-inch apart from one another. Repeat until all dough is used up.
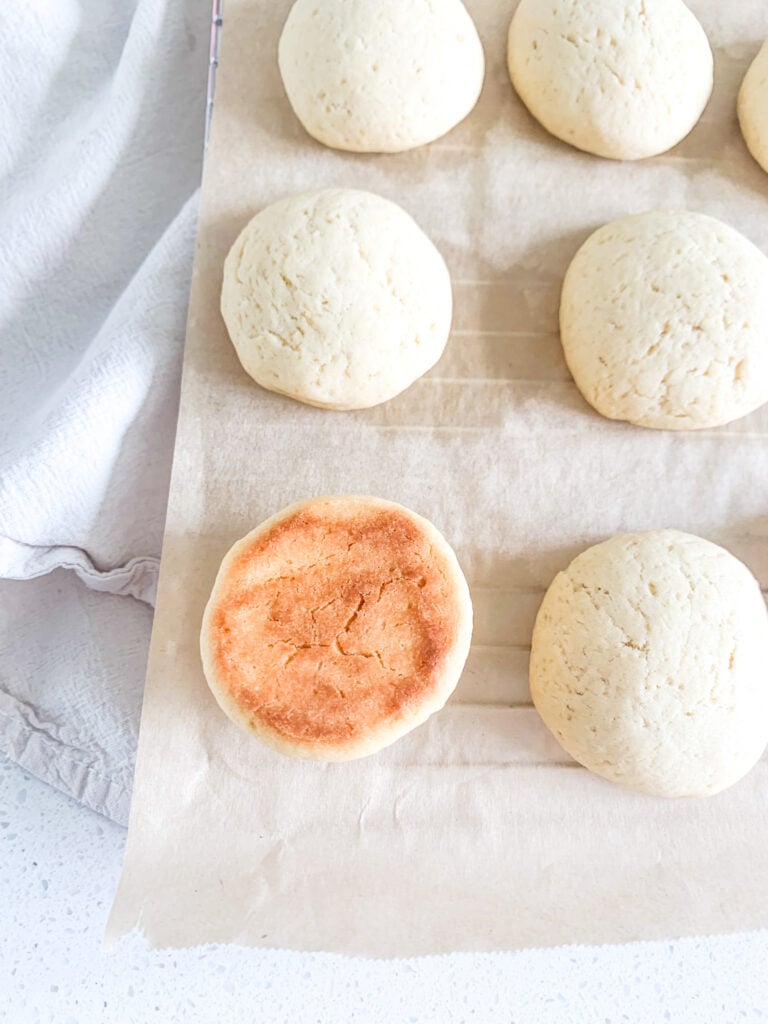
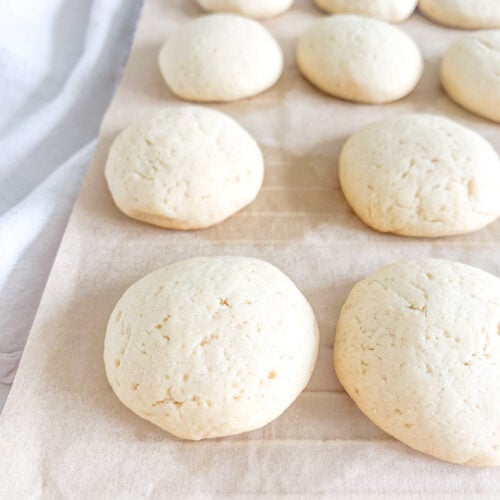
Bake for 12-14 minutes until golden brown on the bottom, they’ll be soft. Remove from oven and let cool on a cooling rack. They’ll firm up a little after cooling. Enjoy!
Video Tutorial

Our Favorite Ways to Enjoy Sourdough Vanilla Wafers
I love making homemade banana pudding with sourdough vanilla wafers. But my husband and I also love snacking on them! You can use them to make all kinds of dessert recipes as well.
Storage Instructions
Store completely cooled down vanilla wafers in an airtight container, preferably glass. They’ll last 4–5 days at room temperature, but they’re best within 2–3 days.
Freezing and Thawing Instructions
Freezing: You can freeze vanilla wafers after they’re completely cooled by storing them in a freezer-safe container, preferably glass. Plastic can give them an odd flavor. They’ll last in the freezer for up to 3 months.
Thawing: Place them on the counter for a few hours to thaw when you’re ready to enjoy.
Frequently Asked Questions
Yes! You can double, triple, or even quadruple it.
Of course! That’s what I do and it works wonderfully.
Yes! Cover the mixing bowl and refrigerate for 24–48 hours if desired.
Bake them longer until the edges turn golden brown.
If you don’t chill the dough before baking, it can spread out.
In our opinion yes! They have that same delicious flavor.
More Sourdough Cookie Recipes To Try
If you’re looking for more sourdough cookie recipes, try a few of these:
- Sourdough Frosted Lemon Cookies
- Brown Butter Sourdough Chocolate Chip Cookies
- Light and Fluffy Sourdough Peanut Butter Cookies
- Mini Sourdough Chocolate Chip Pumpkin Cookies
- Sourdough Pistachio Chocolate Chip Cookies
If you made this recipe, give it a 5-star rating below and share a photo on your social media stories! Be sure to tag me @plumbranchhome. You can find our community on Instagram, Facebook, YouTube, and Pinterest (all @plumbranchhome)
Recipe
Soft Sourdough Vanilla Wafers
Ingredients
- 8 Tbsp butter, melted (I use Kirkland's grass-fed salted butter)
- 1/3 cup pure cane sugar
- 1 large egg
- 1/2 tsp sea salt
- 2 Tbsp sourdough discard (or fed starter works)
- 1 Tbsp pure vanilla extract (I like Walmart’s Great Value brand, don't use imitation vanilla)
- 1/2 tsp baking powder (I use aluminum-free)
- 1 1/2 cup all-purpose flour (I use organic, unbleached)
Instructions
- Add melted butter and cane sugar into a mixing bowl. Mix with an electric mixer on medium-speed for 1-2 minutes.
- Add egg, mix until completely combined.
- Add sea salt, sourdough discard, vanilla extract, and baking powder. Mix until combine on a low-medium-speed.
- Add flour, a little at a time, and mix on medium-high speed until completely incorporated. The dough will be soft! NOTE: If it won’t combine your starter was less hydrated than mine. Add 1 Tbsp milk. If your dough is excessively sticky your starter was more hydrated. Add 1-2 Tbsp extra flour.
- Chill dough in the fridge for 30 minutes or in the freezer for 10 minutes. Do not skip this step! Optional: If you’d like to long ferment the dough for more fermentation benefits (the cultures will ferment all other ingredients) chill, covered, in the fridge for 12-48 hours before baking. You don’t have to do this, it’s completely optional!
- Preheat oven to 350 degrees Fahrenheit and line a large baking sheet pan with parchment paper.
- Use a small spoon to scoop 1-2 tsp of dough into your hand, roll it into a ball, and lightly press your hands together to flatten. Place on prepared sheet pan 1-inch apart from one another. Repeat until all dough is used up.
- Bake for 12-14 minutes until golden brown on the bottom, they’ll be soft. Remove from oven and let cool on a cooling rack. They’ll firm up a little after cooling. Enjoy!
Video
Notes
- This recipe was developed for the cookies to be used in my banana pudding recipe. If you’d like them a little sweeter, add 1/2 cup of pure cane sugar instead of 1/3 cup.
- You can double, triple, and even quadruple this recipe if desired.
- Please see blog post for storage information and serving ideas.
Yum, these wafers seem like they’d be the perfect treat for spring/summer!!
Thank you! They really are!
Wow these look delicious. I’m definitely making these for a summer beach night.
Yay! I’m excited for you to try them. Thanks so much!
These look delicious! Pinning for later!
Thank you so much!
These look so good!! I love making anything and everything homemade. Can’t wait to try this!
Thank you so much! Me too, I can’t wait for you to try them!
I came here for your banana pudding recipe and ended up here. These look so good, cant wait to make them!
Thank you so much! I can’t wait for you to make them!